IdP Setup
-
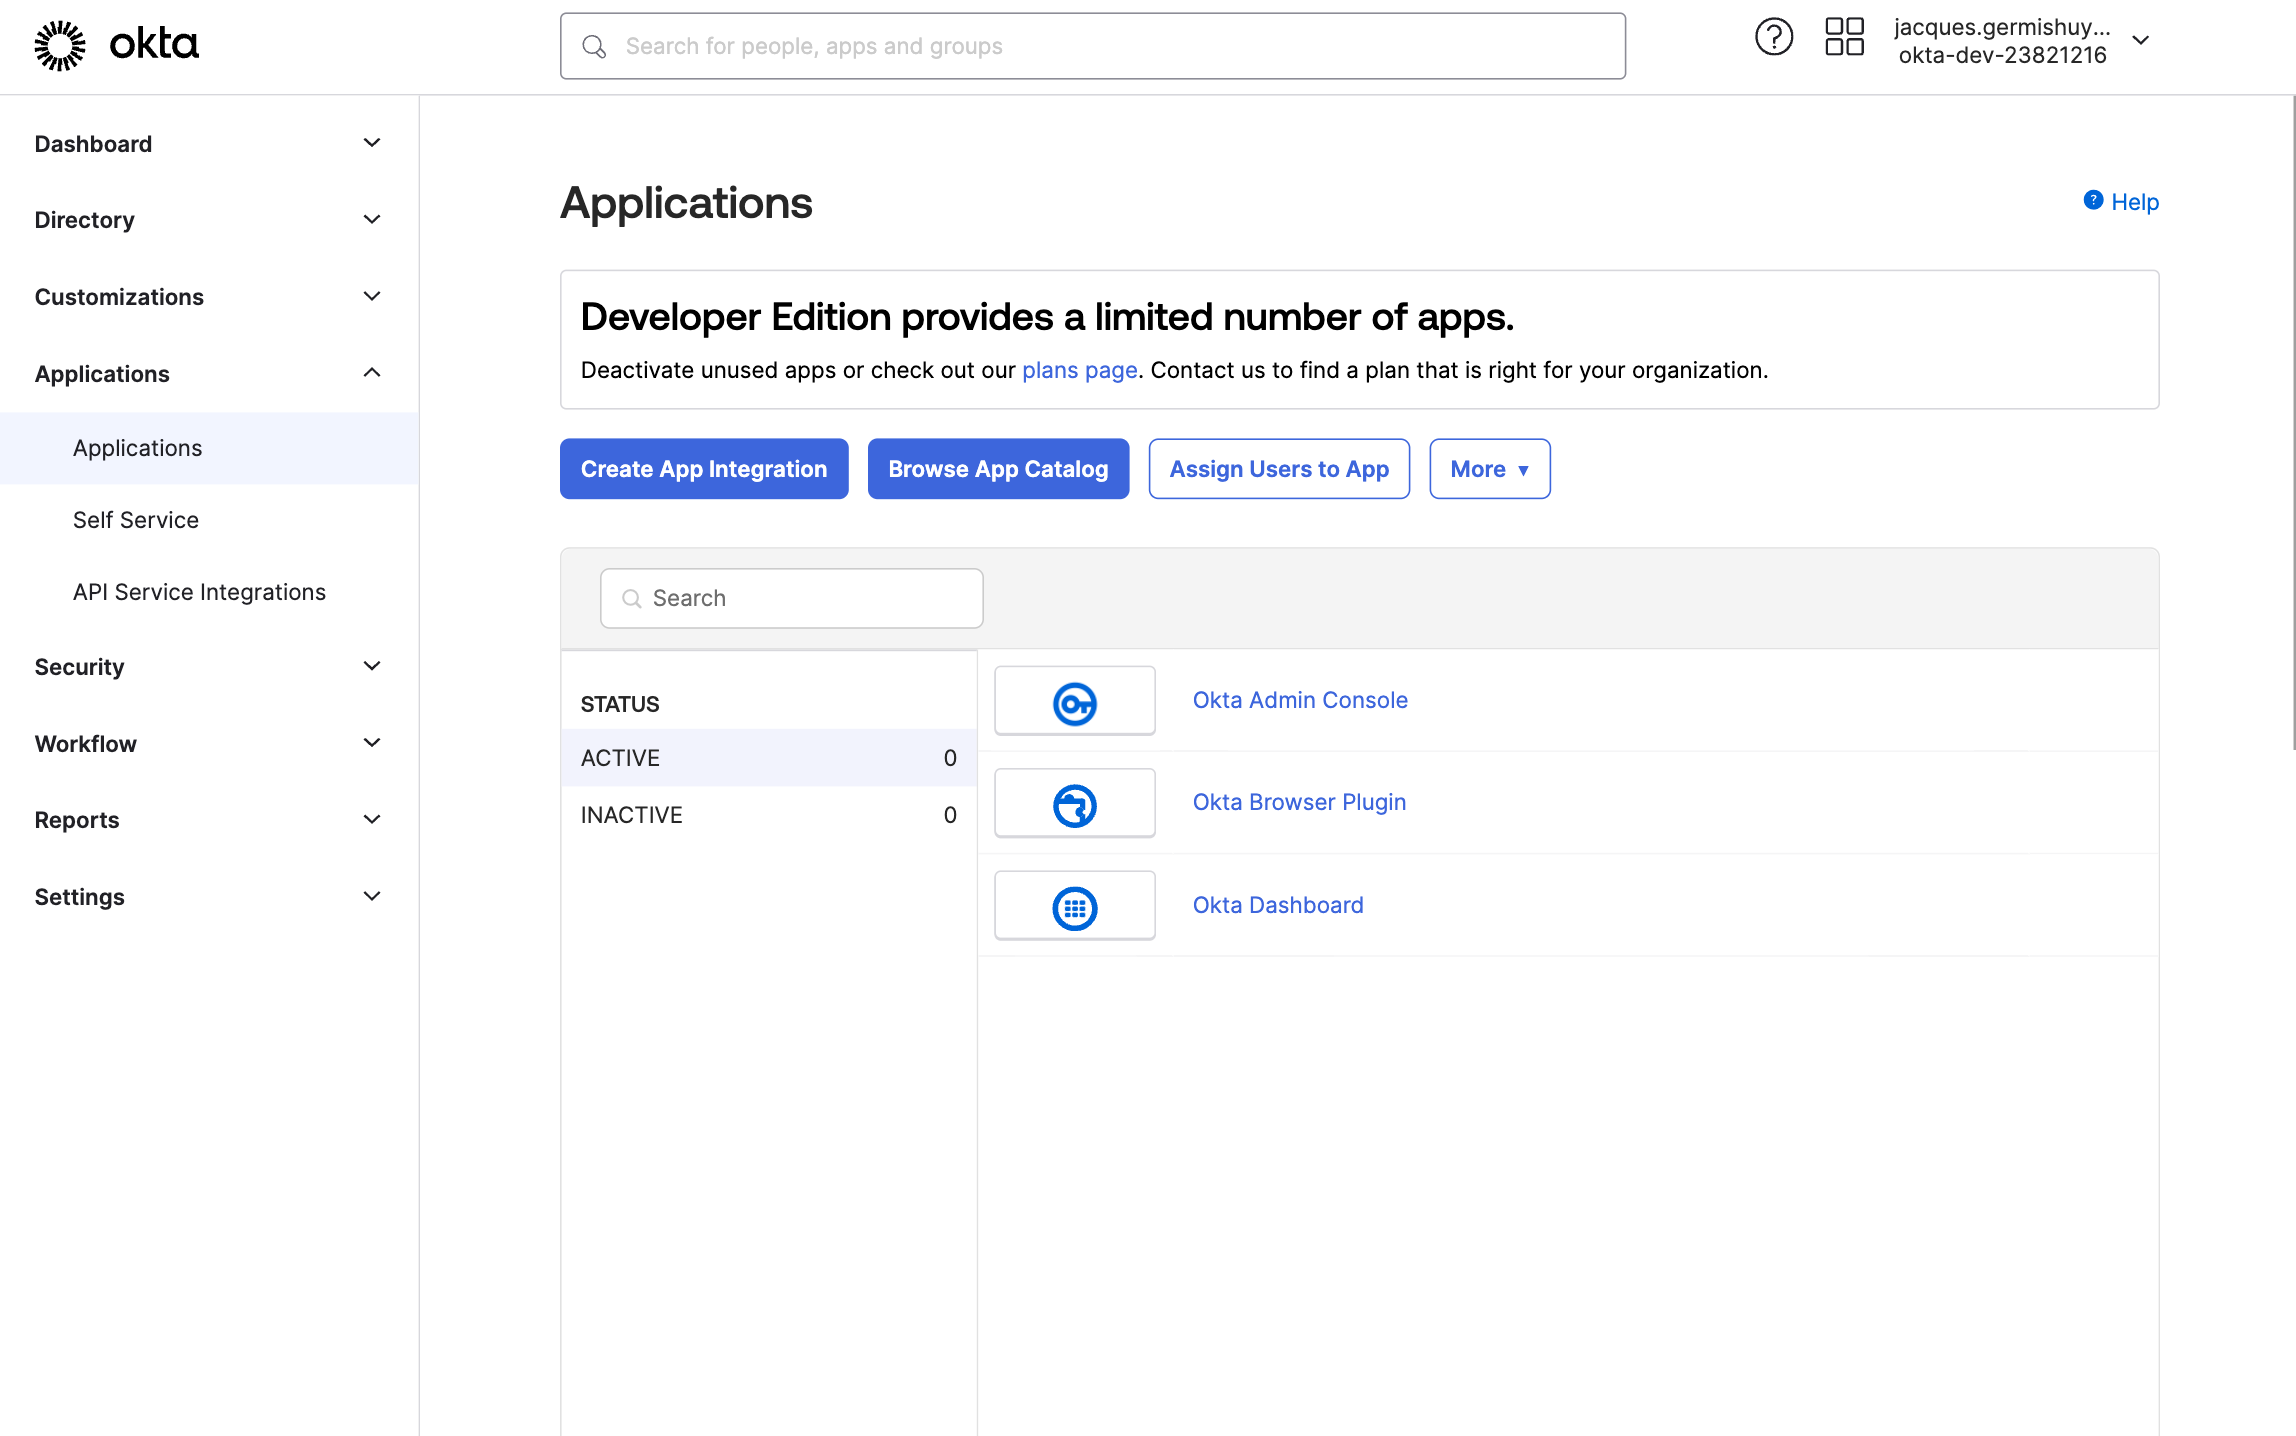
In the left-hand navigation pane, click on Applications and then underneath it, again Applications.
-
Click on the Create App Integration button
-
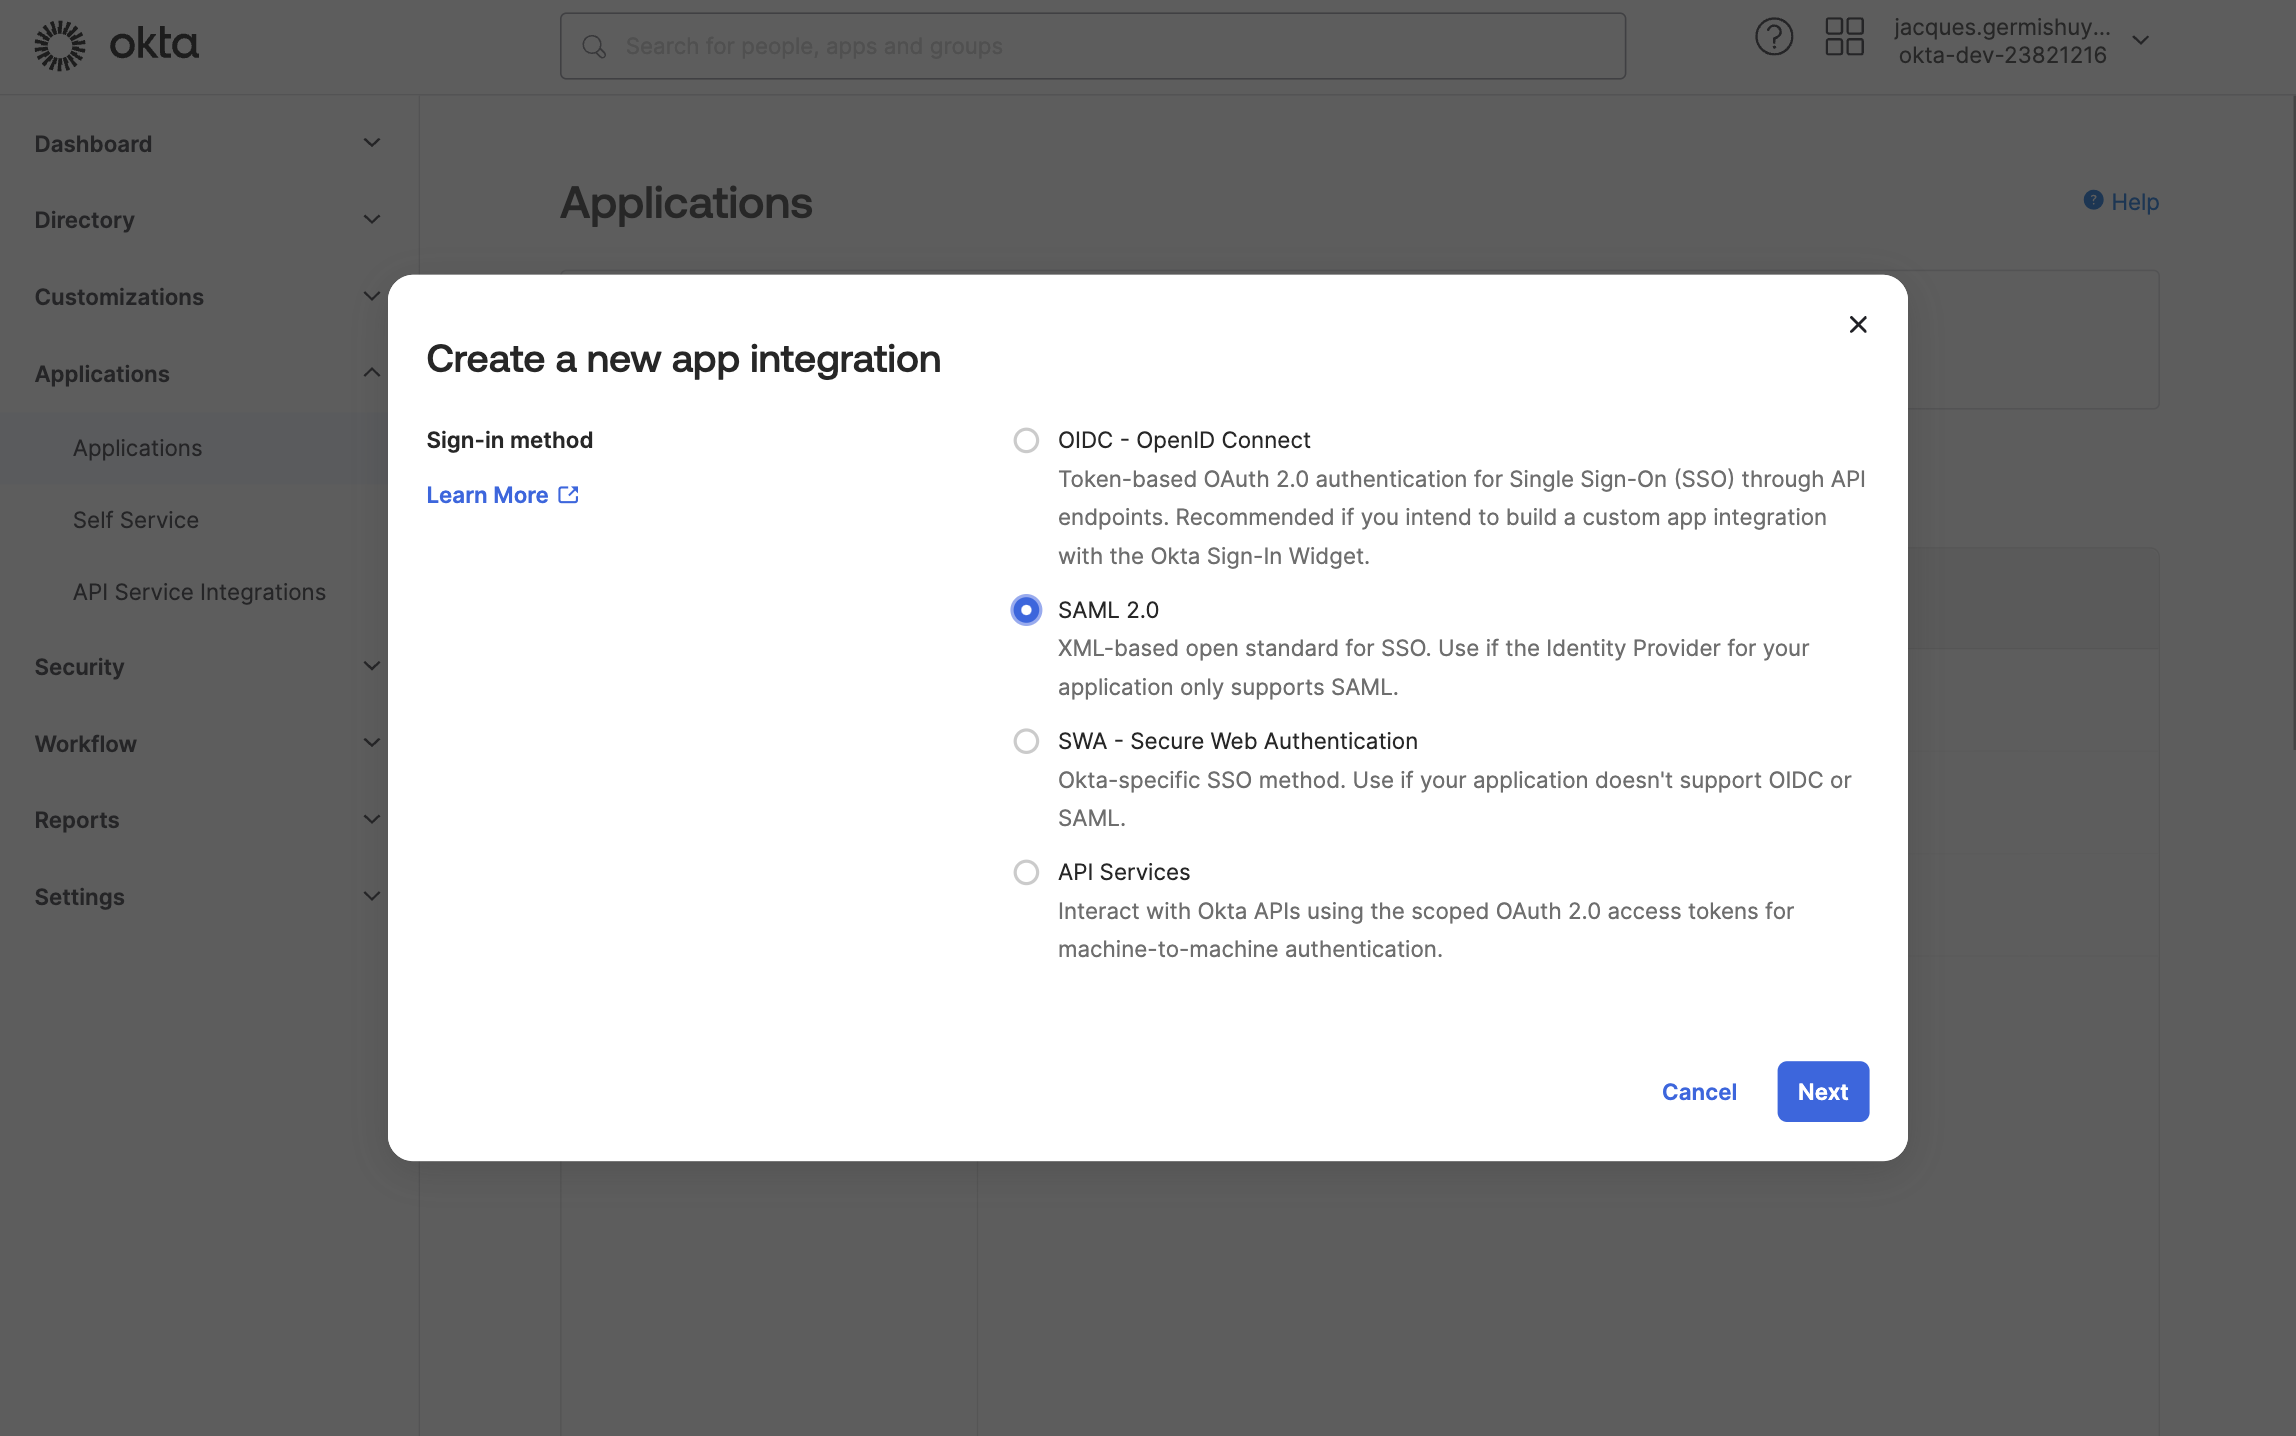
Select SAML 2.0 as the sign-in method and click on Next
-
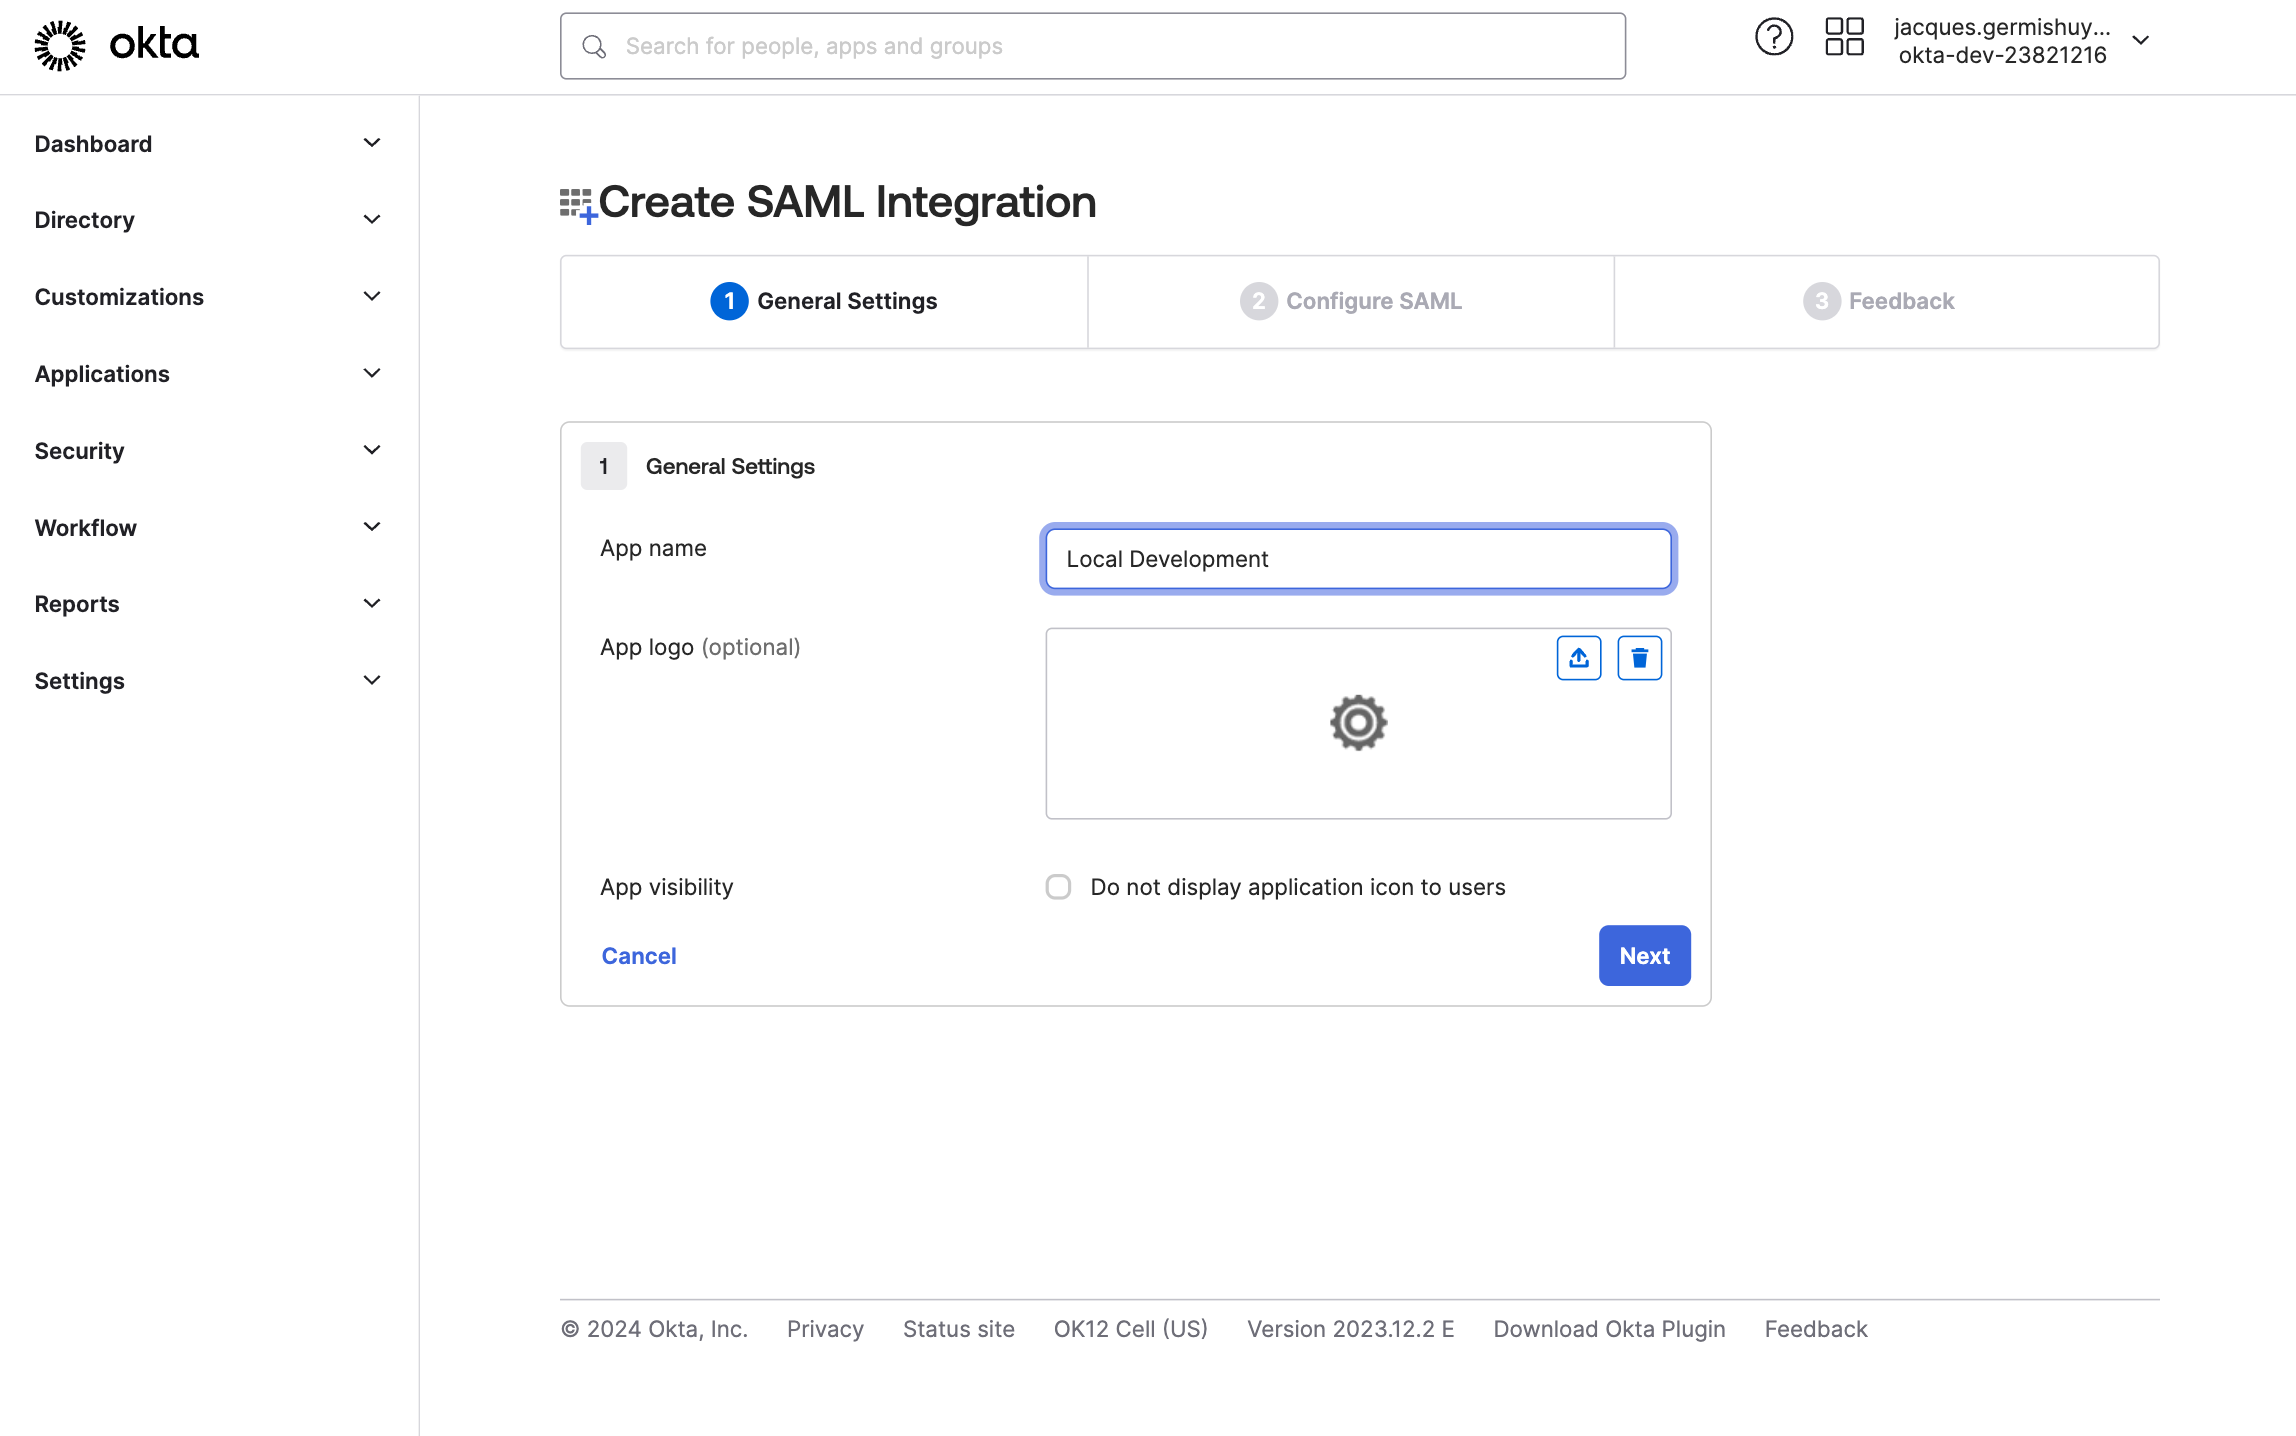
Enter an App name and click on Next
-
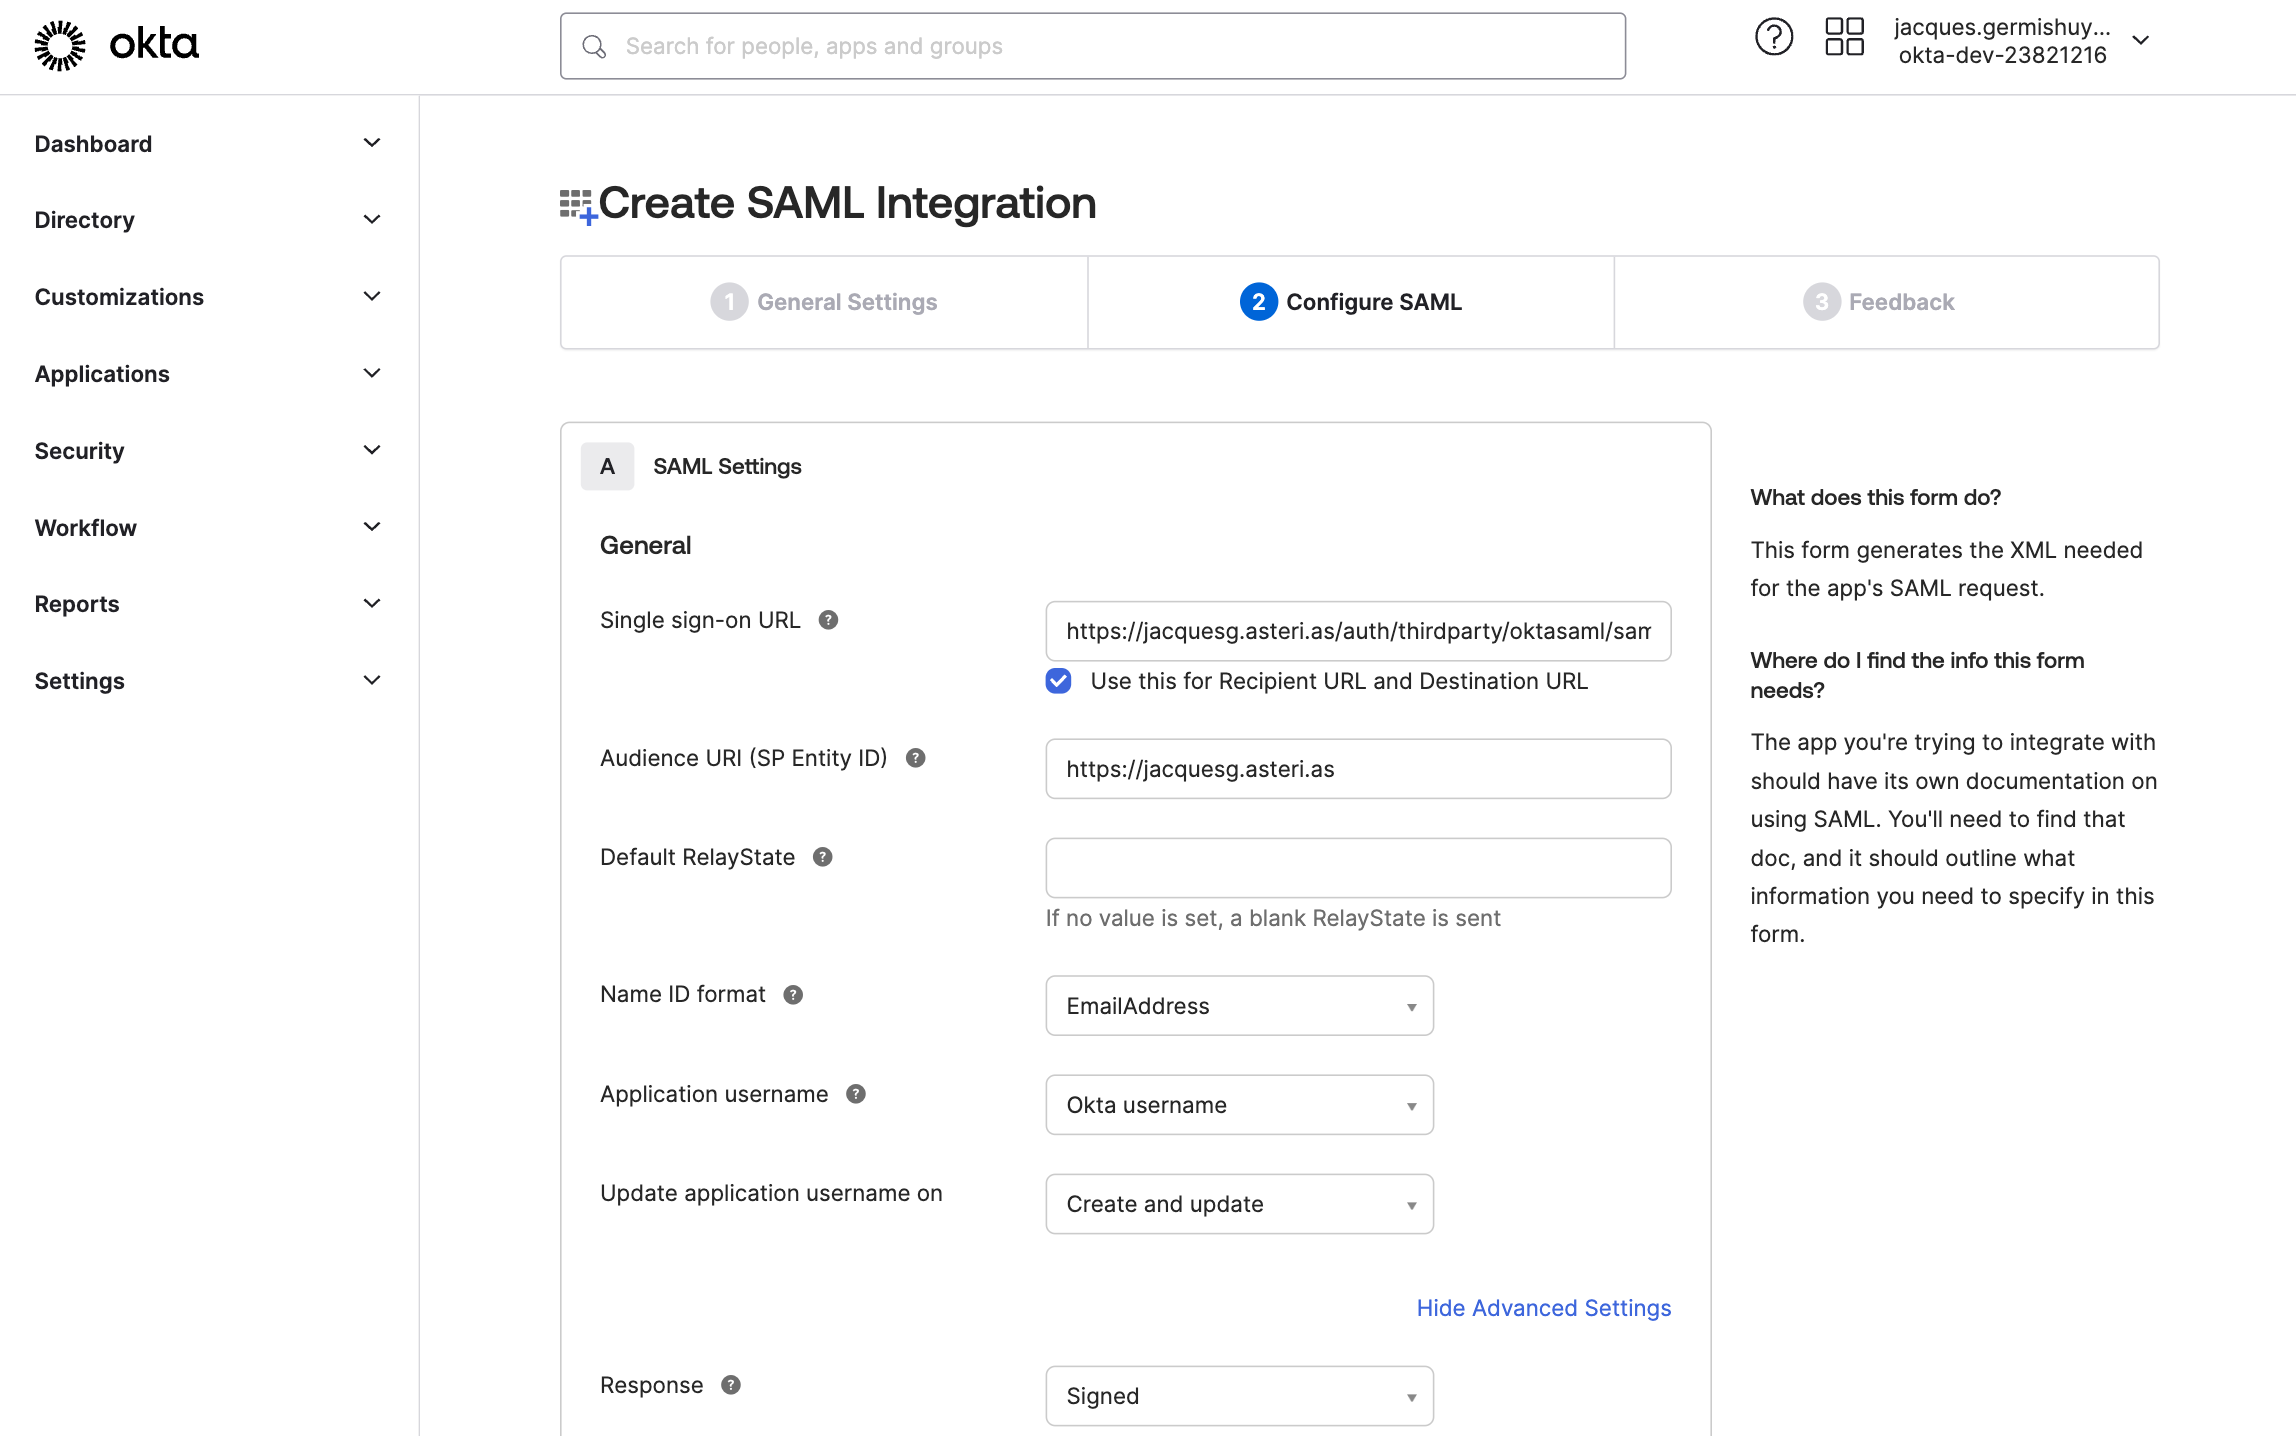
Enter the required SAML settings
- Single sign-on URL should be
https://{username}.asteri.as/auth/thirdparty/oktasaml/saml/callback - Audience URI should be
https://{username}.asteri.as
Click on Show Advanced Settings
- Single sign-on URL should be
-
Enter the Advanced SAML settings
- Response and Assertion Signature should both be Signed
- Signature Algorithm should be RSA-SHA256
- Digest Algorithm should be SHA256
- Assertion Encrypion should be Encrypted
- Encryption Algorithm should be AES256-CBC
- Key Transport Algorithm should be RSA-OEAP

Upload the Encryption Certificate and Signature Certificate by clicking on Browse files…. For guidance on generating them, see the SAML Keys tutorial.

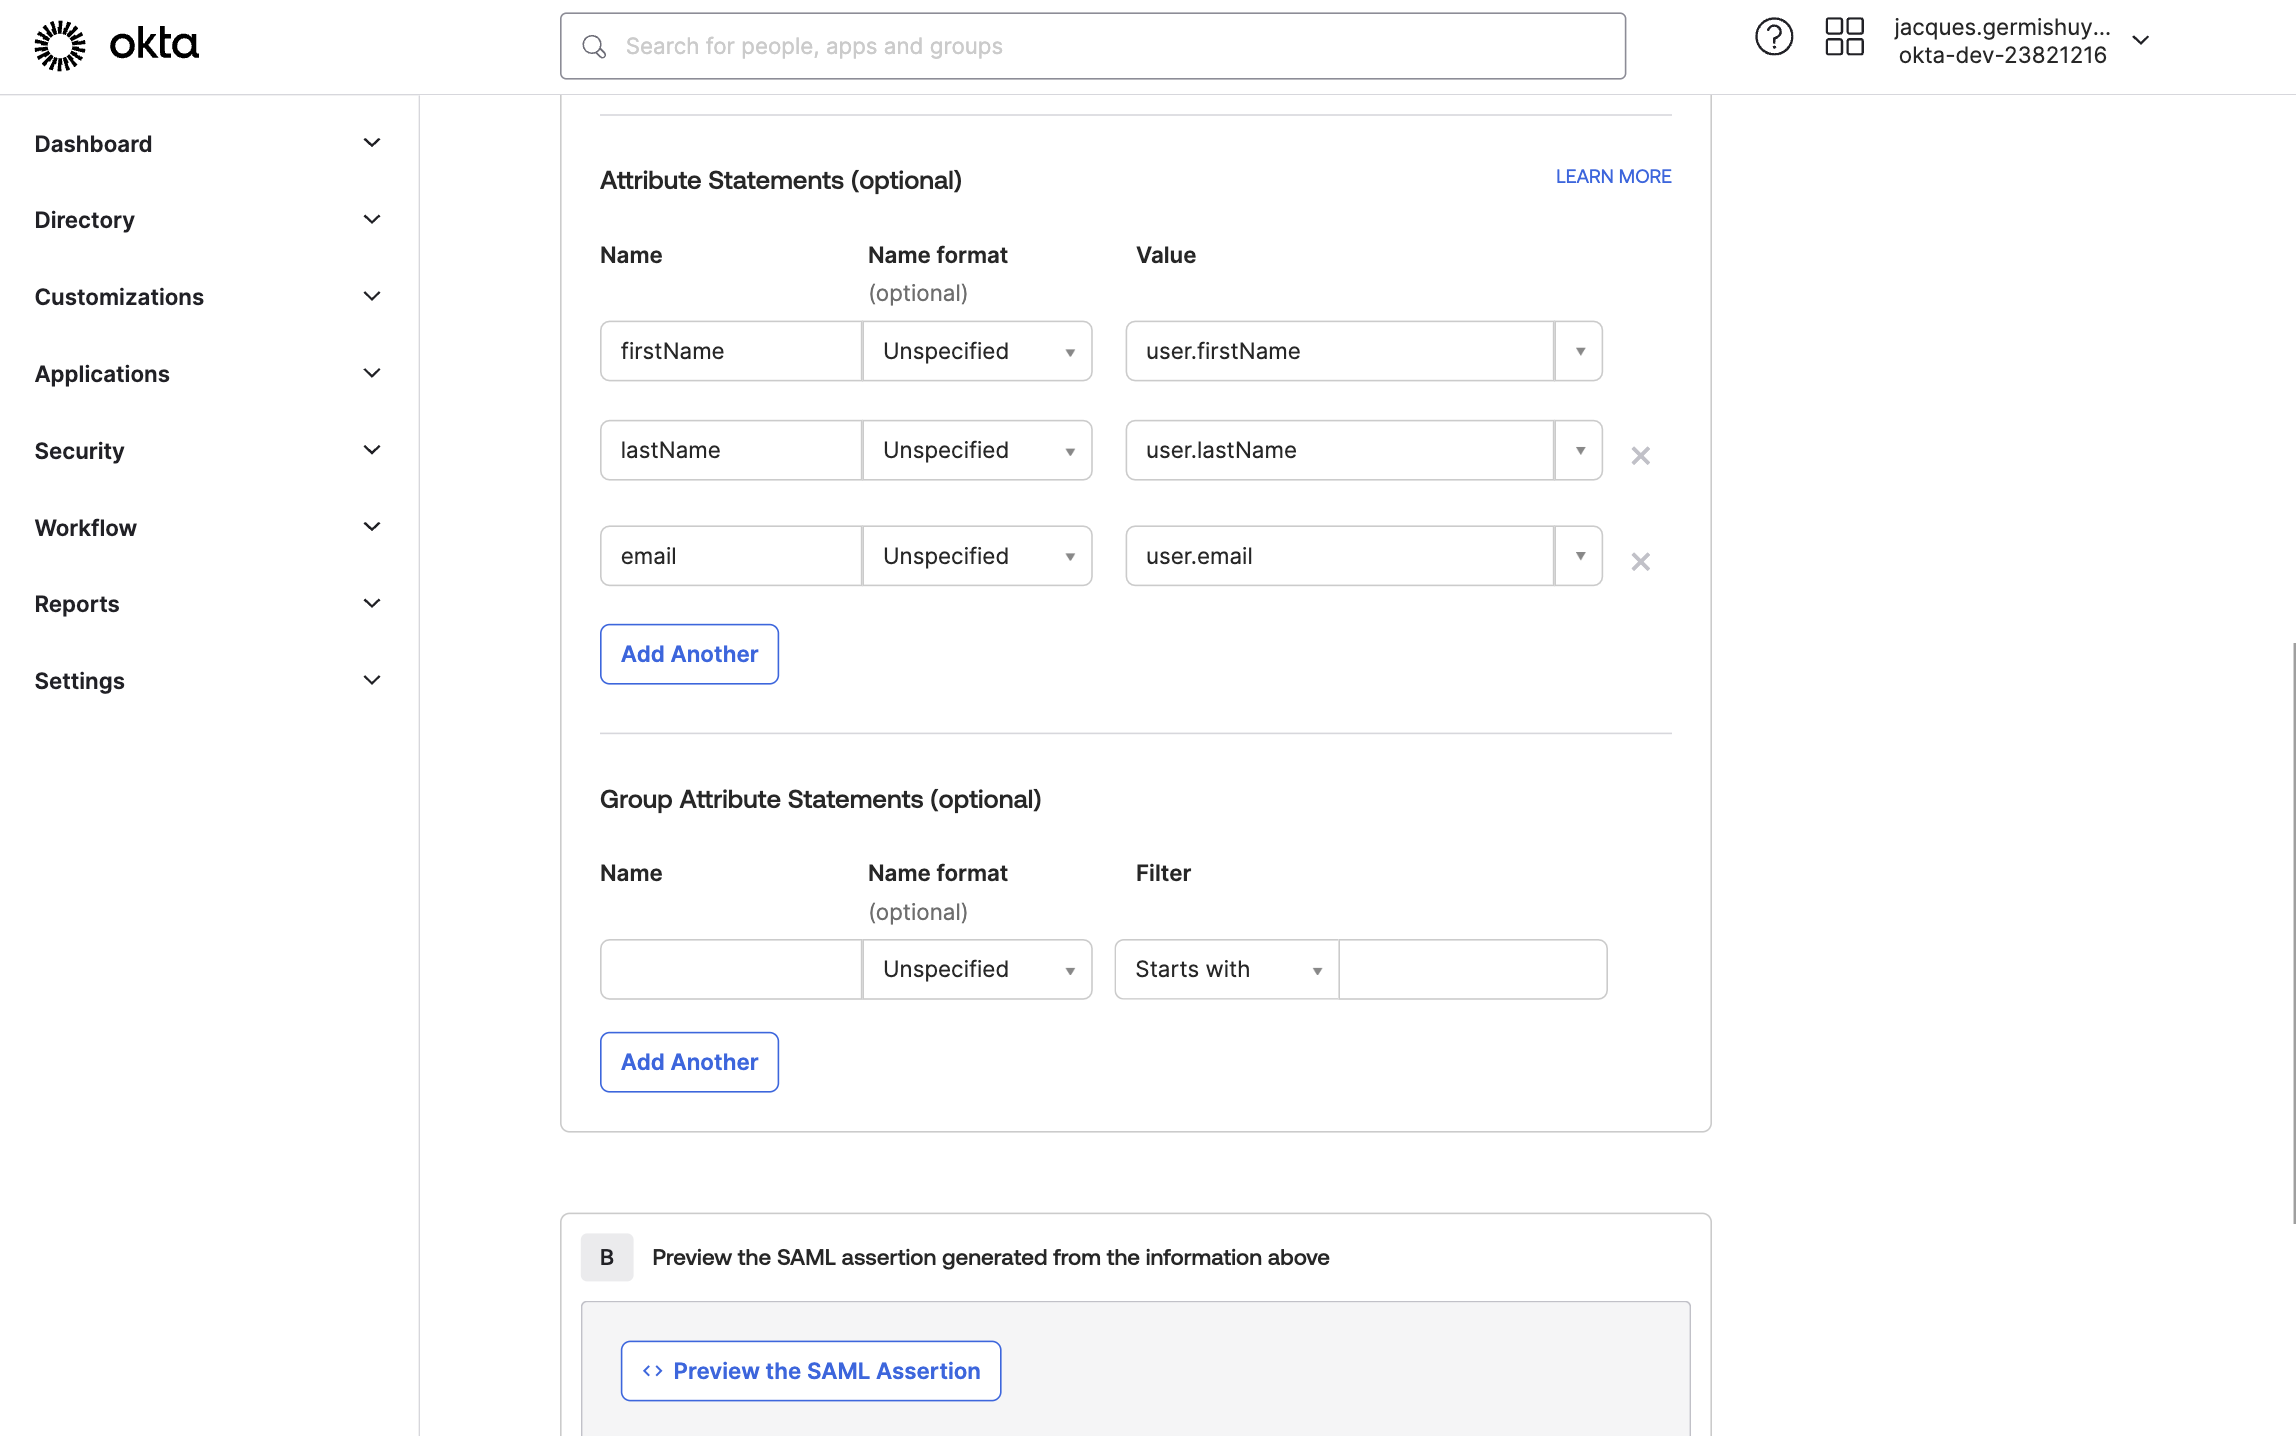
Scroll down to Attribute Statements. Ensure
firstName,lastNameandemailmap to the correspondinguservalue as shown below.Click on Next
-
On the Feedback page, select I’m an Okta Customer adding an internal app, and also select This is an internal app that we have created for App type.
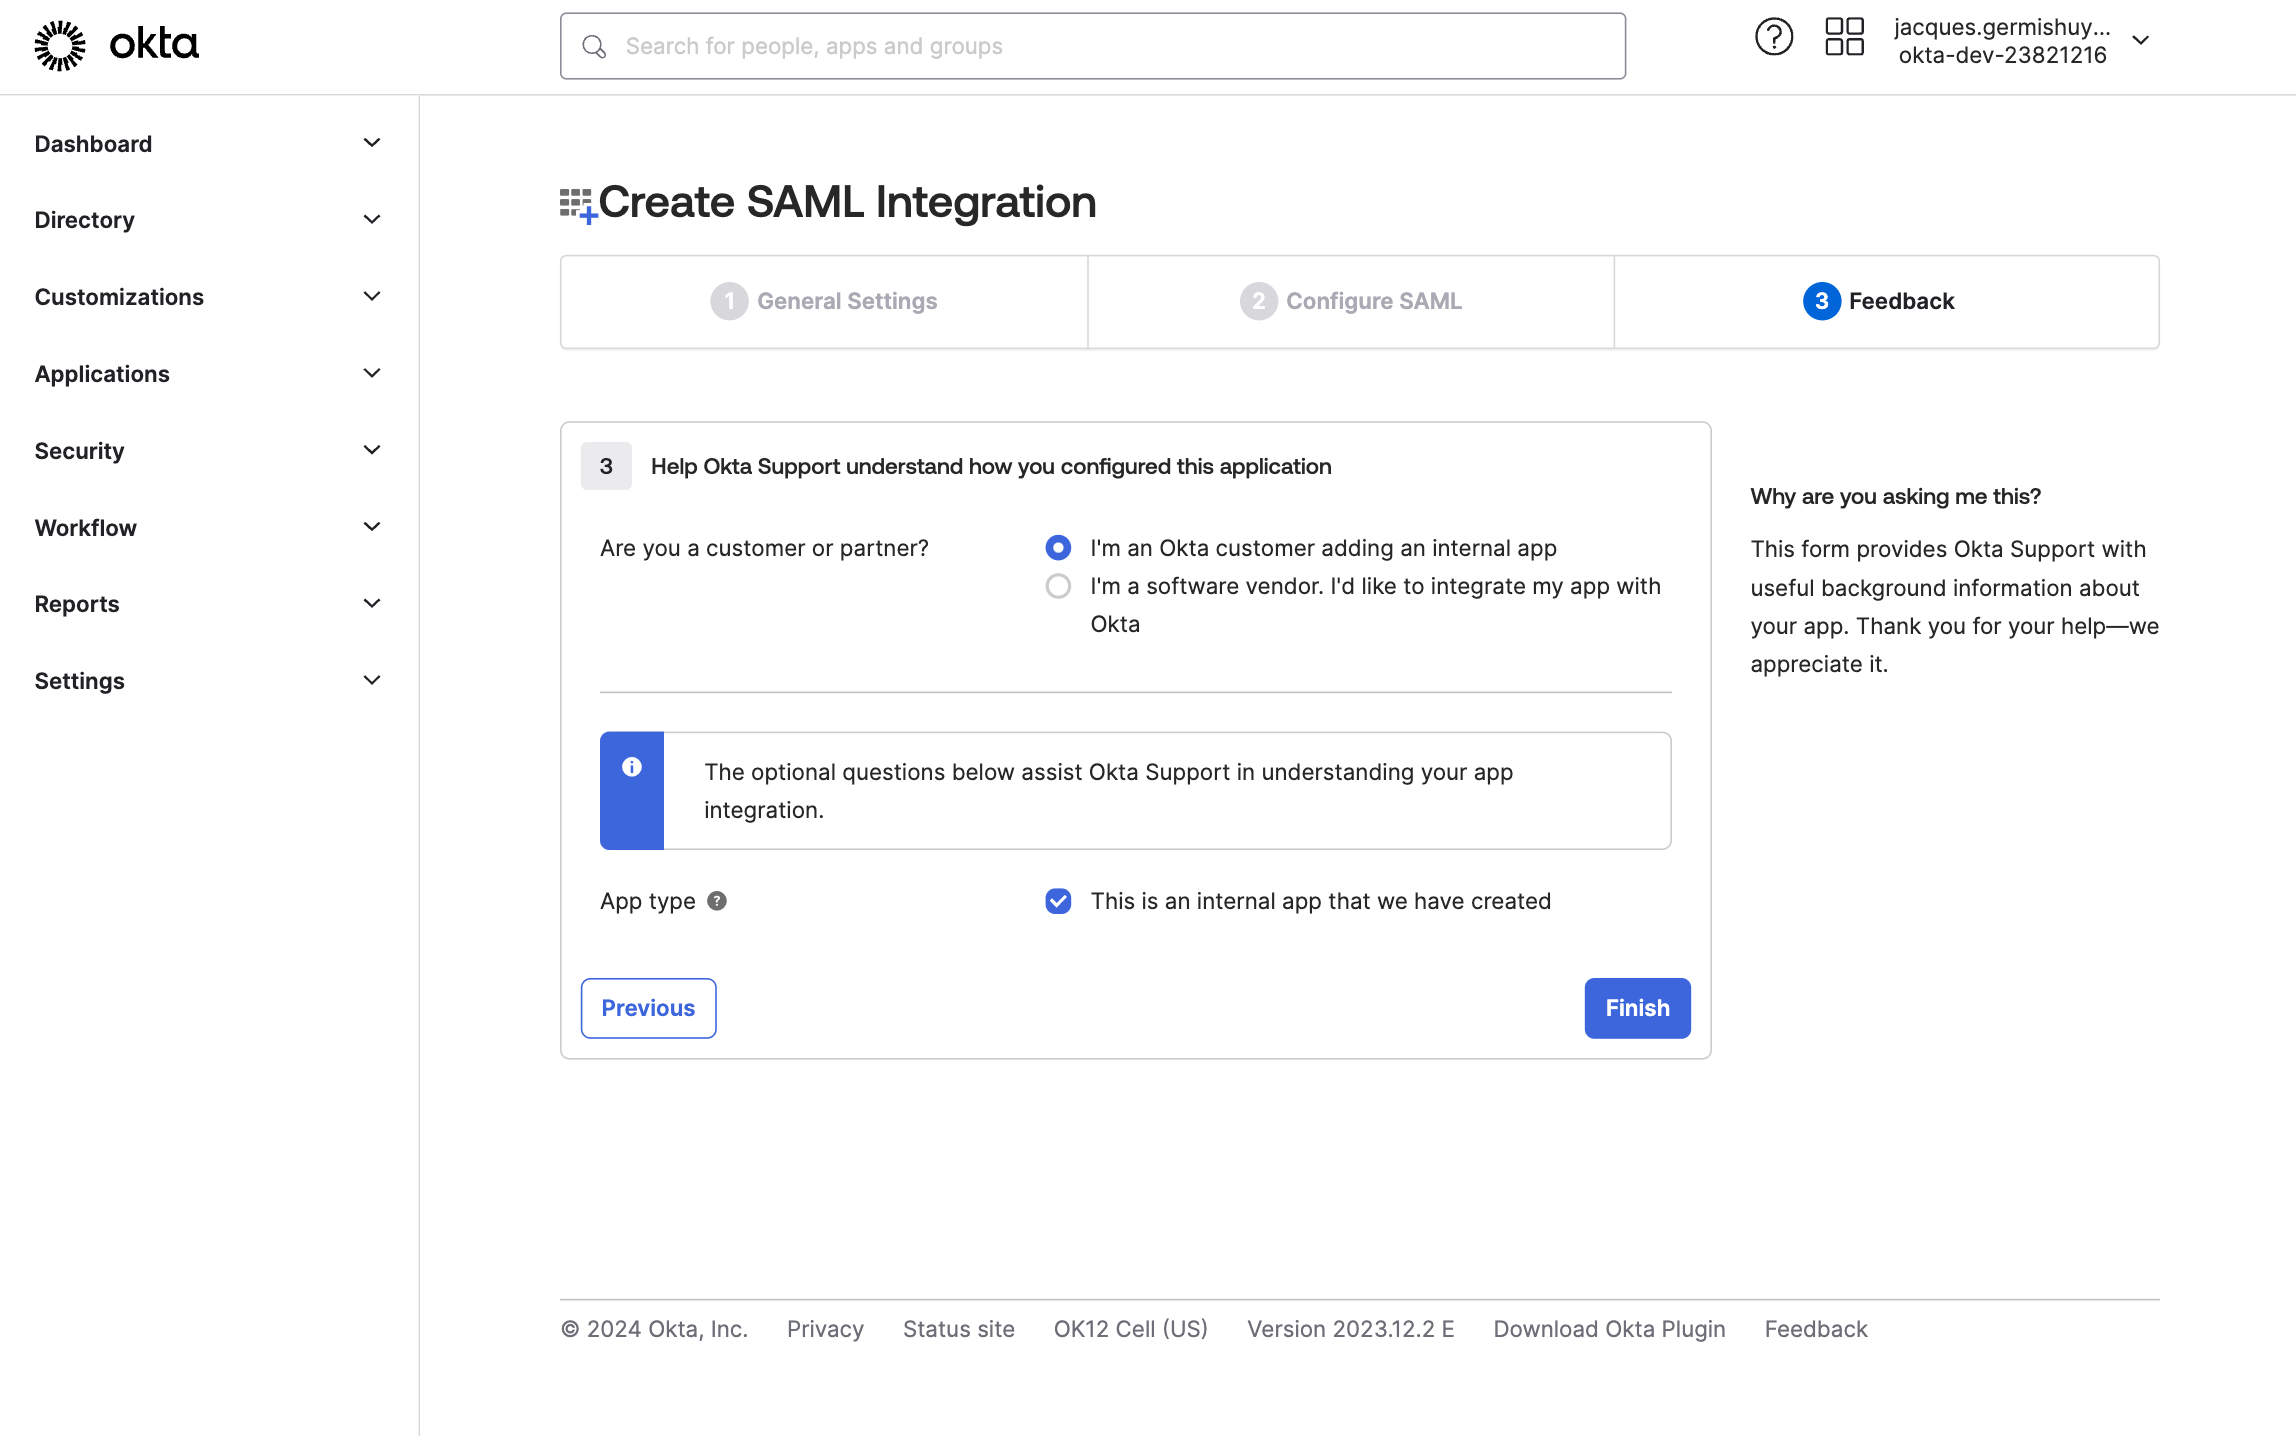
Click on Finish
-
If not selected, click on the Sign On tab. A metadata URL will be displayed which is used to download the metadata.
In a terminal execute the following, taking care to replace the URL with the one you’ve been provided. Feel free to change the filename or use
curlif you prefer.wget https://dev-23821216.okta.com/app/exkeijfhjqqZRyTgQ5d7/sso/saml/metadata -O okta-metadata.xml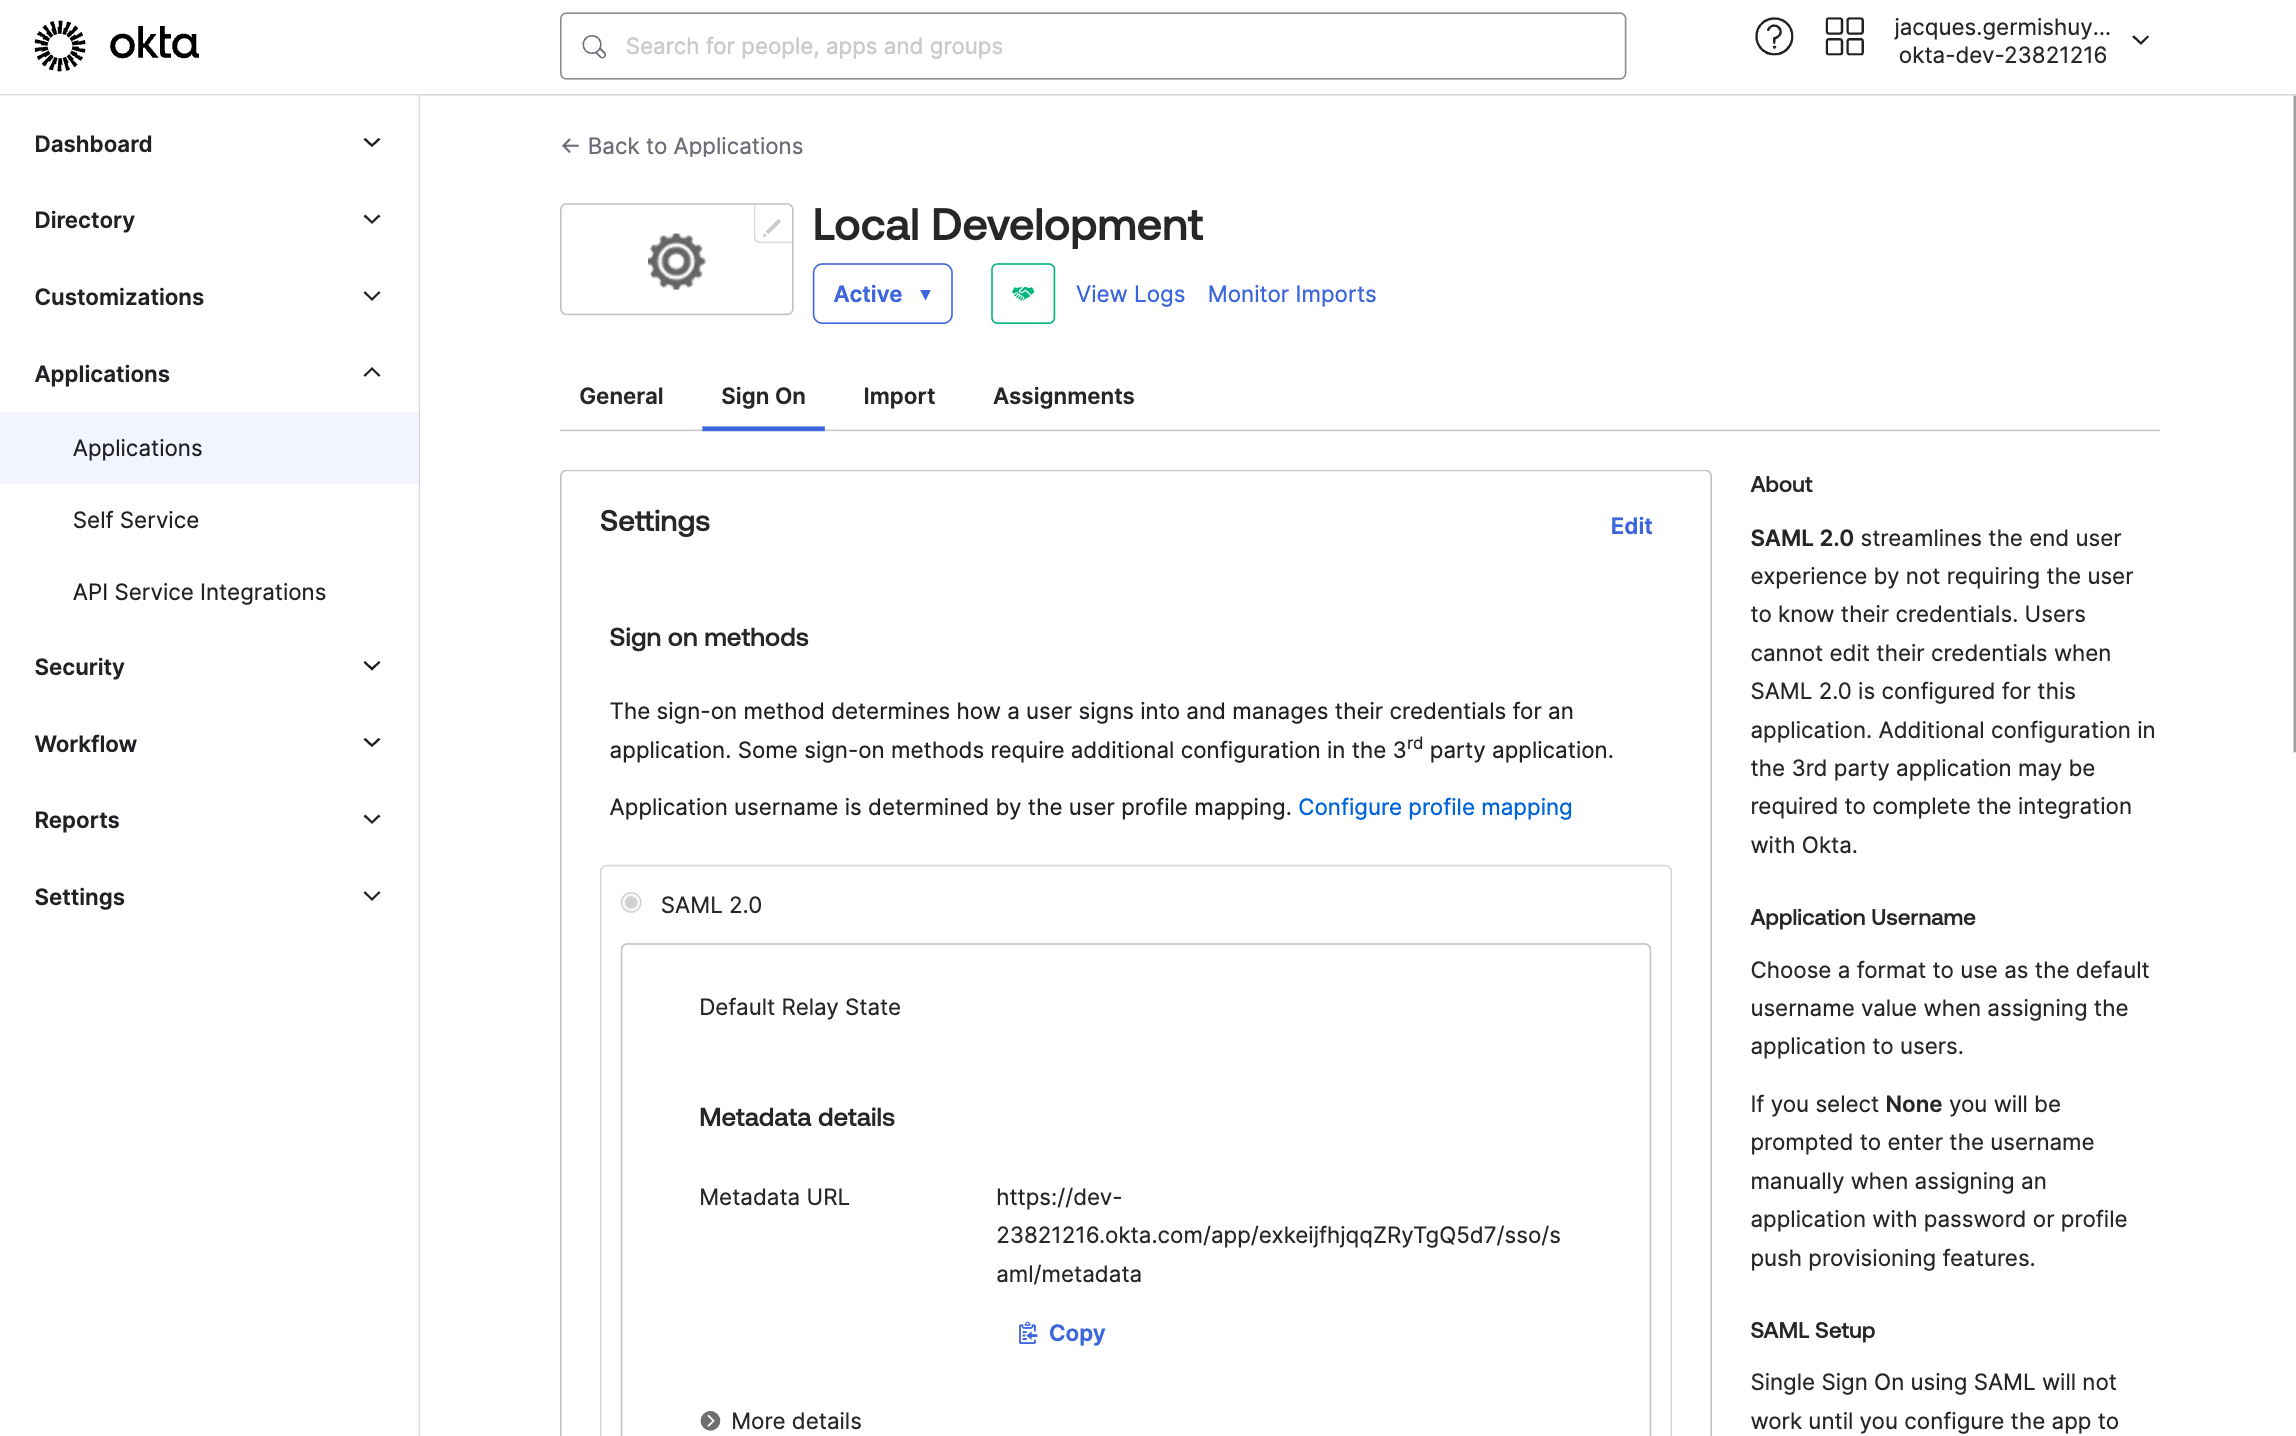
-
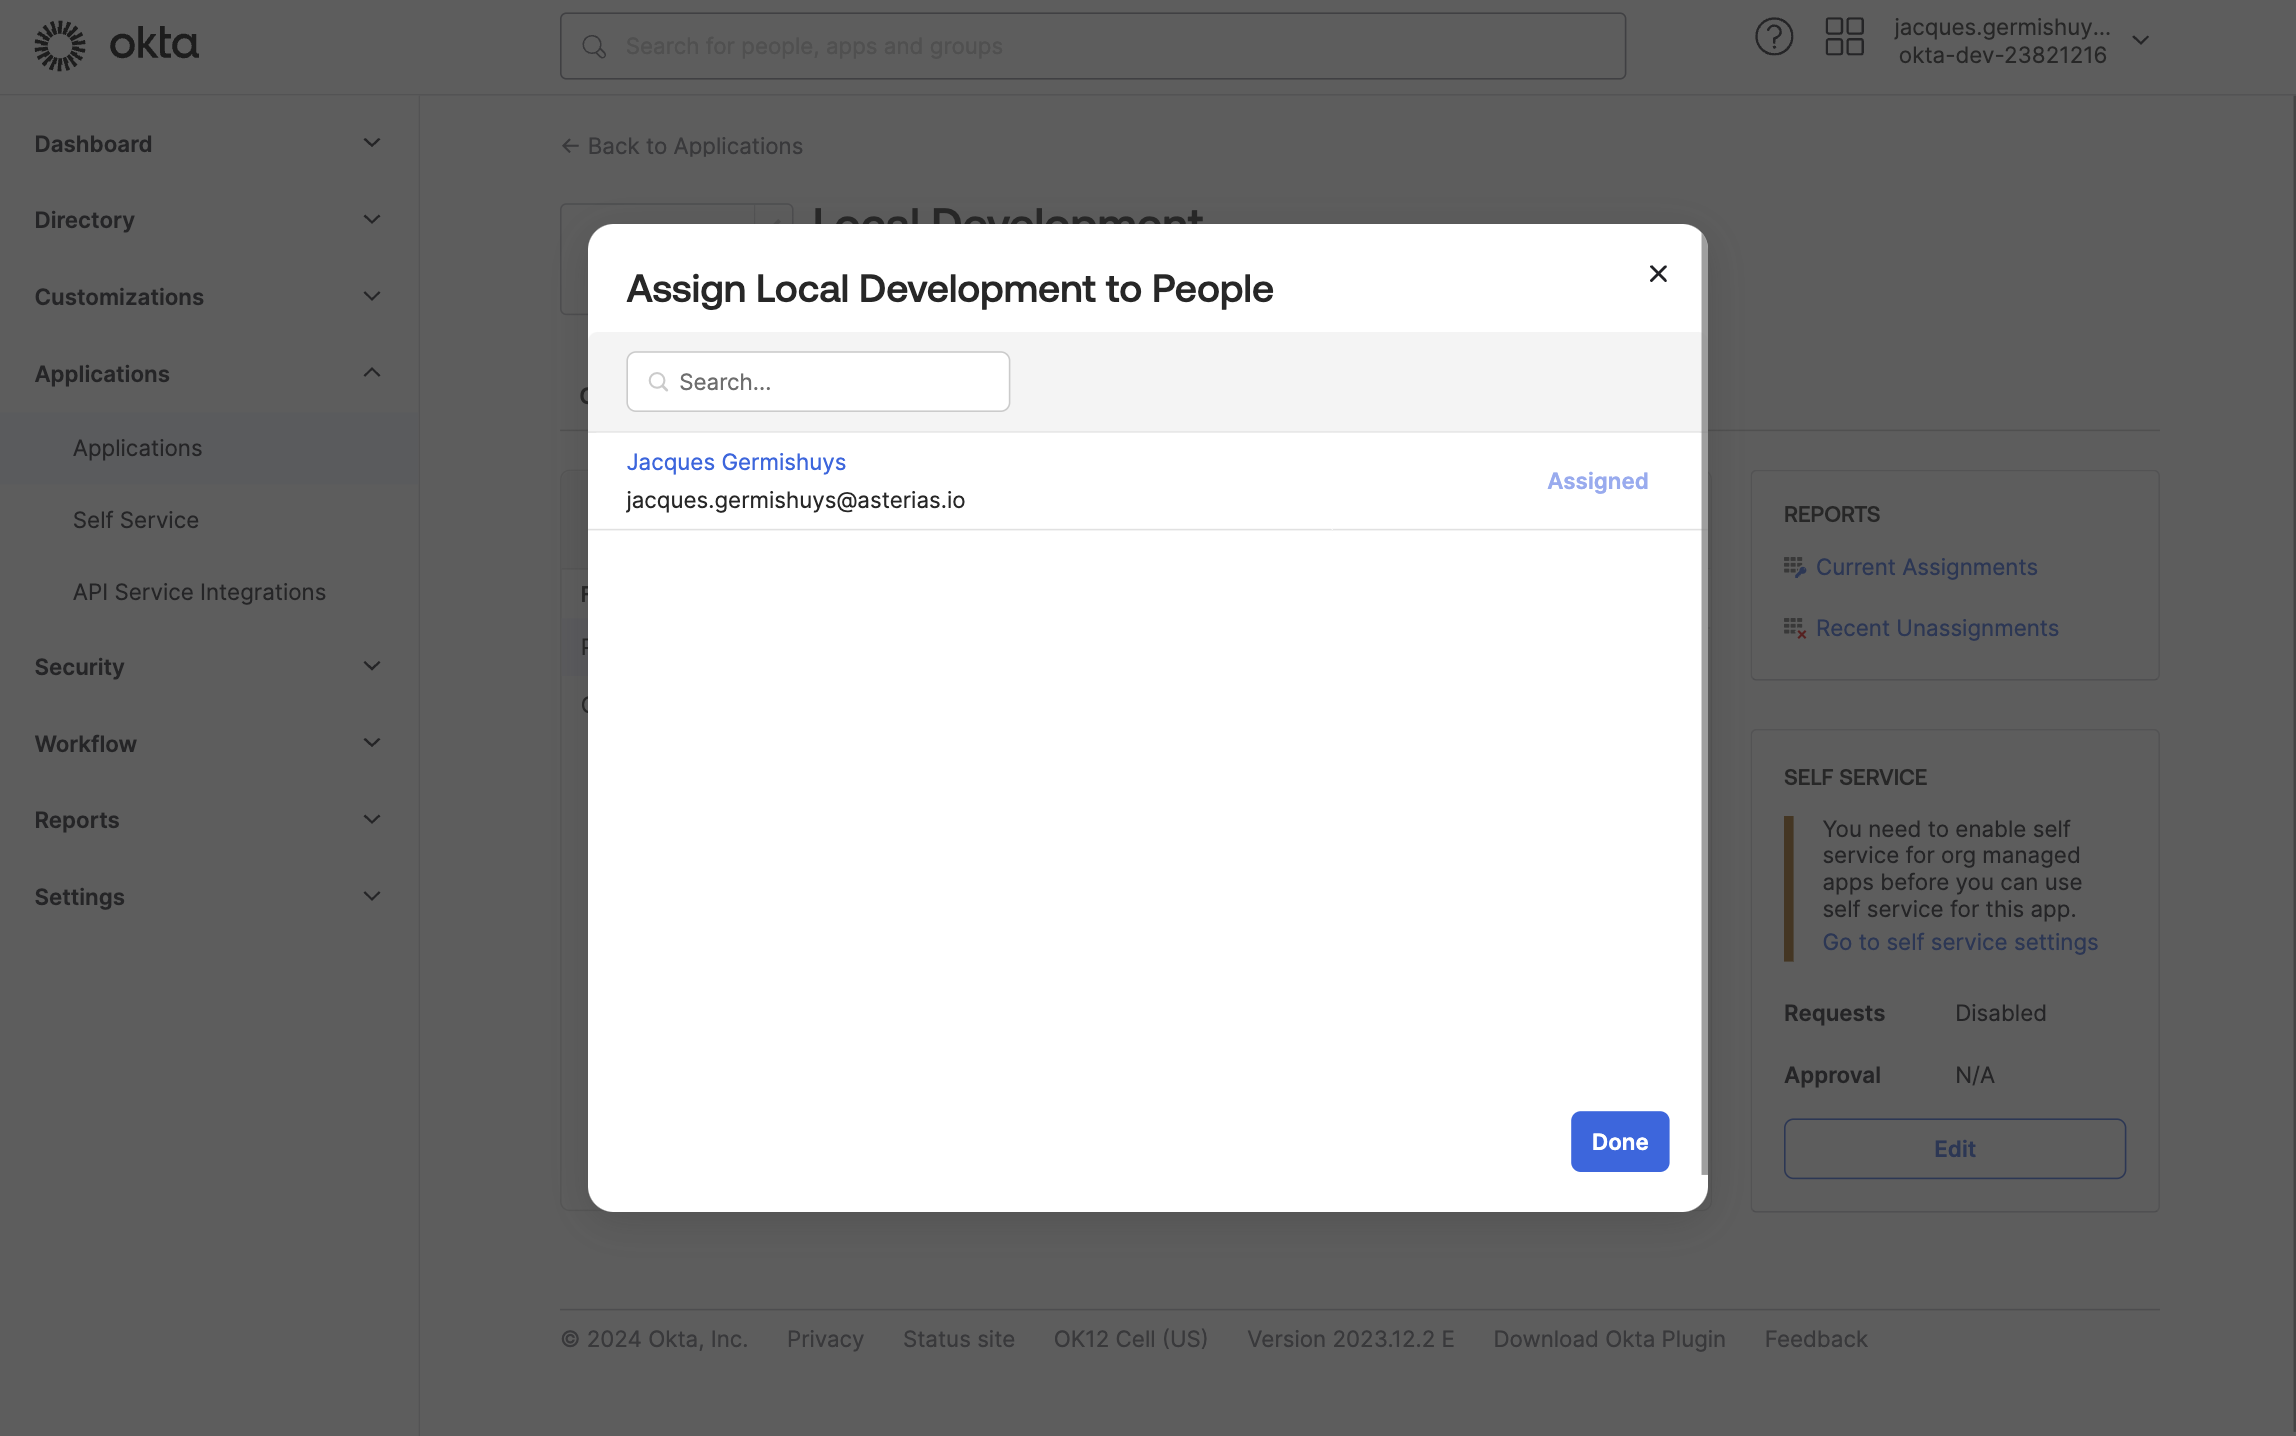
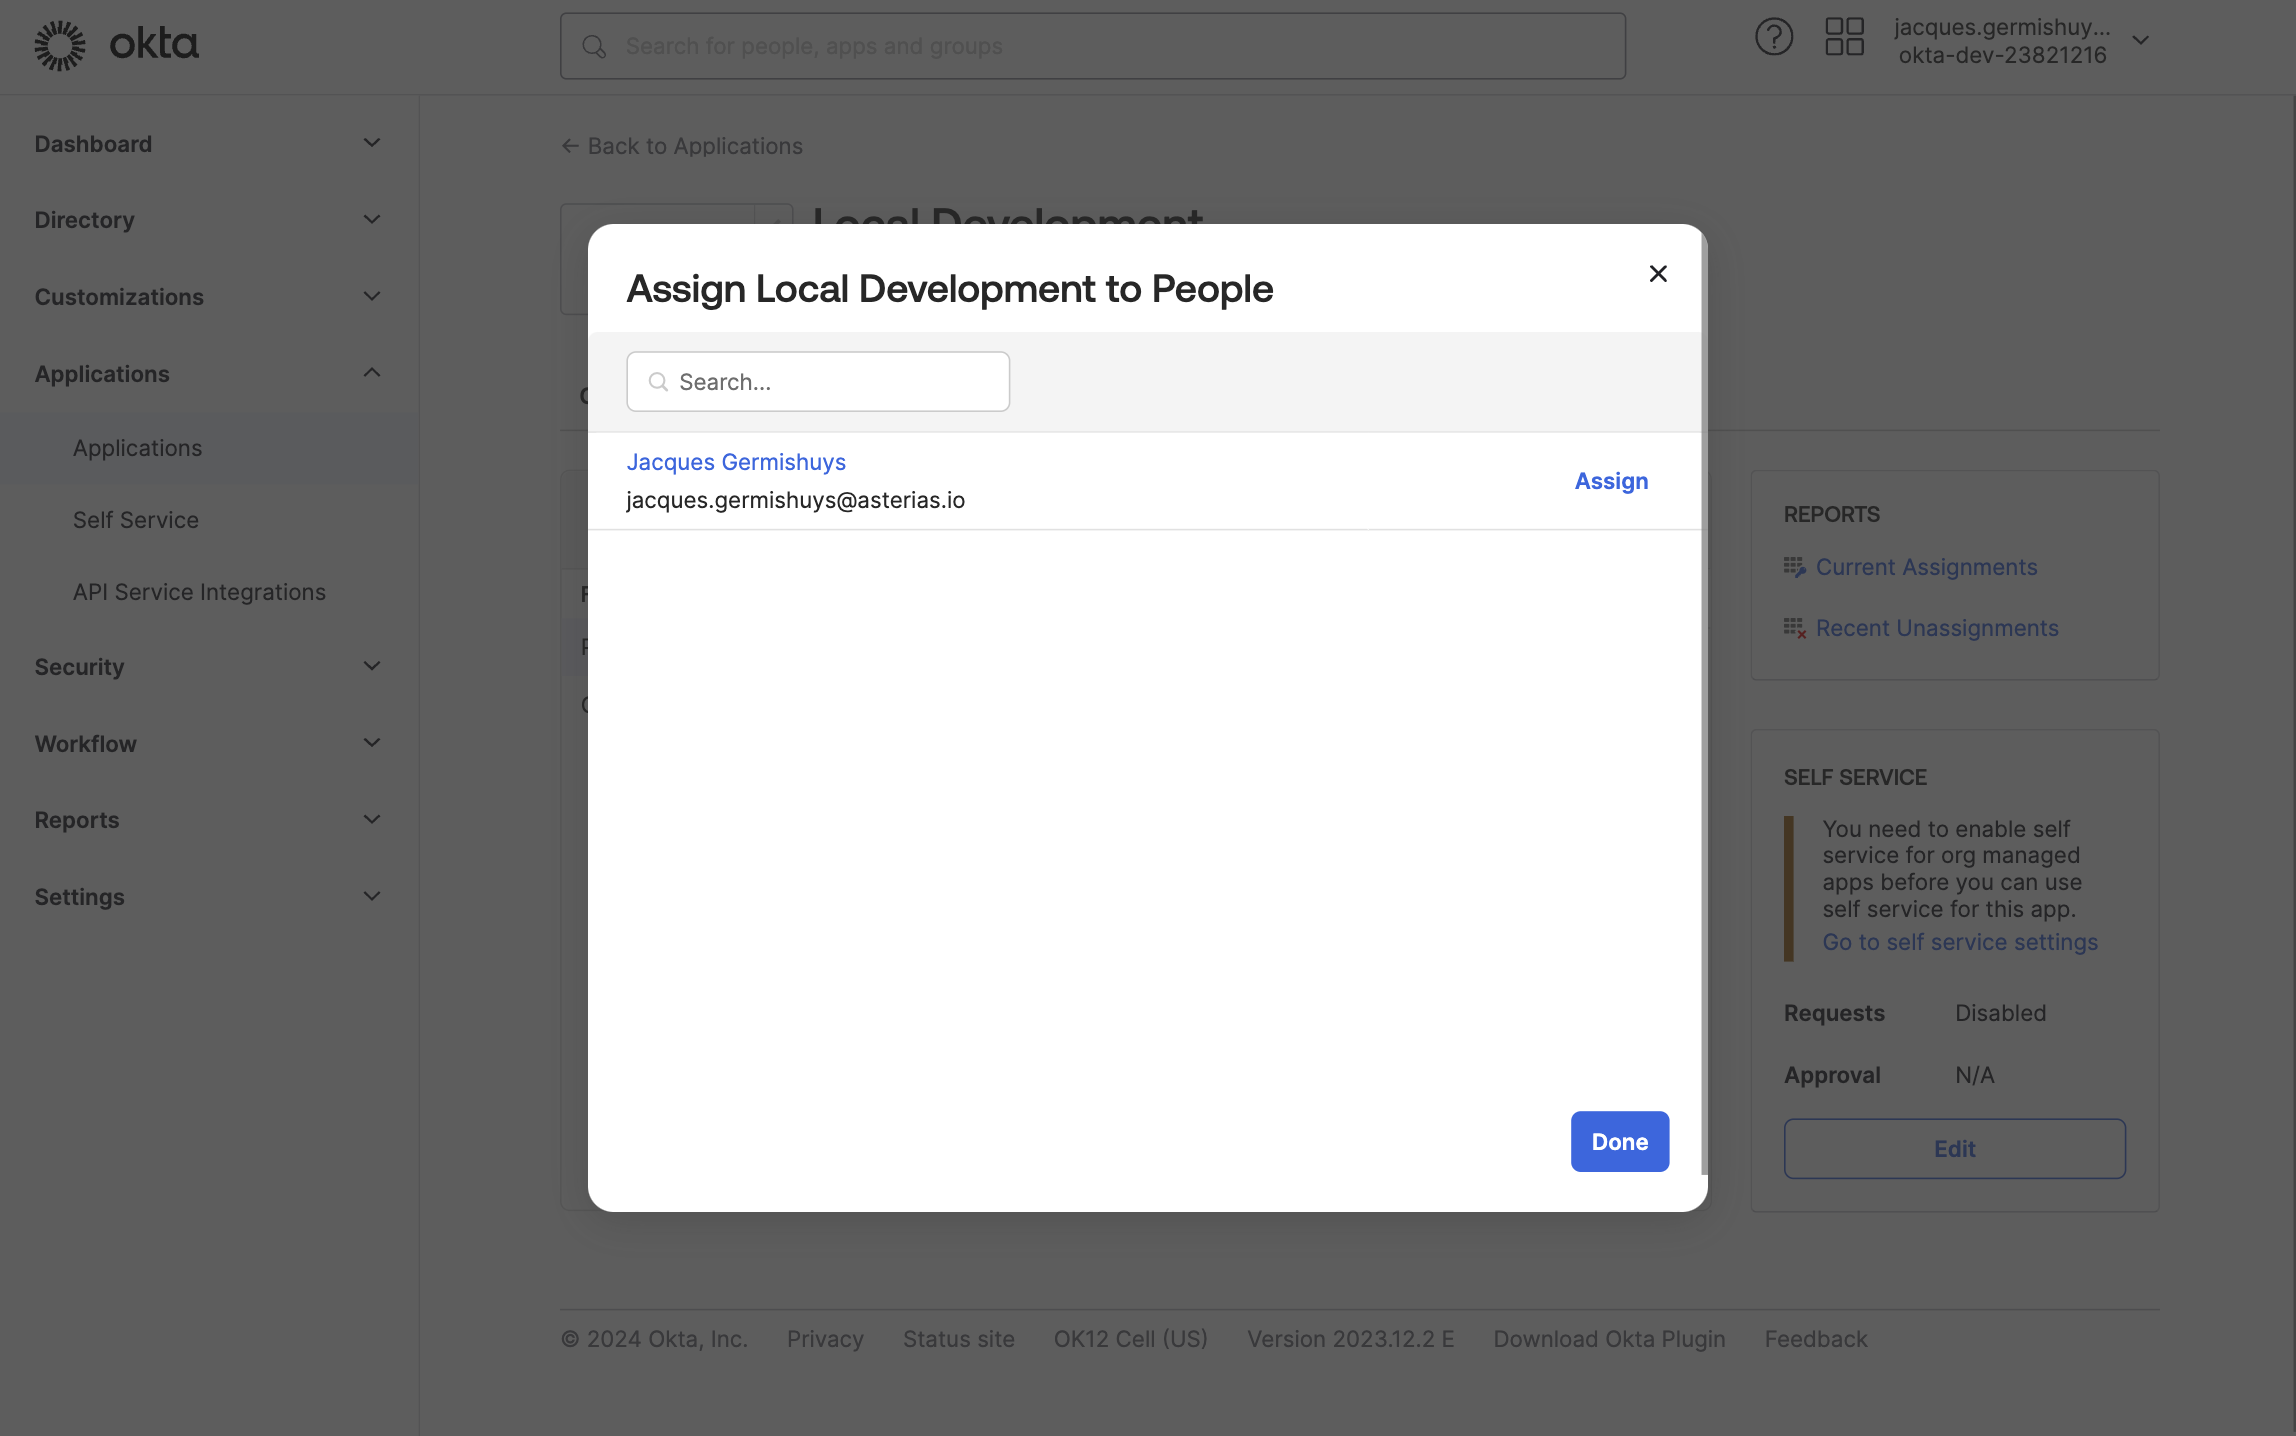
Click on the Assignments tab. Click on the Assign button, and then Assign to People in the drop-down menu that appears.

-
Click on Assign next to your user
-
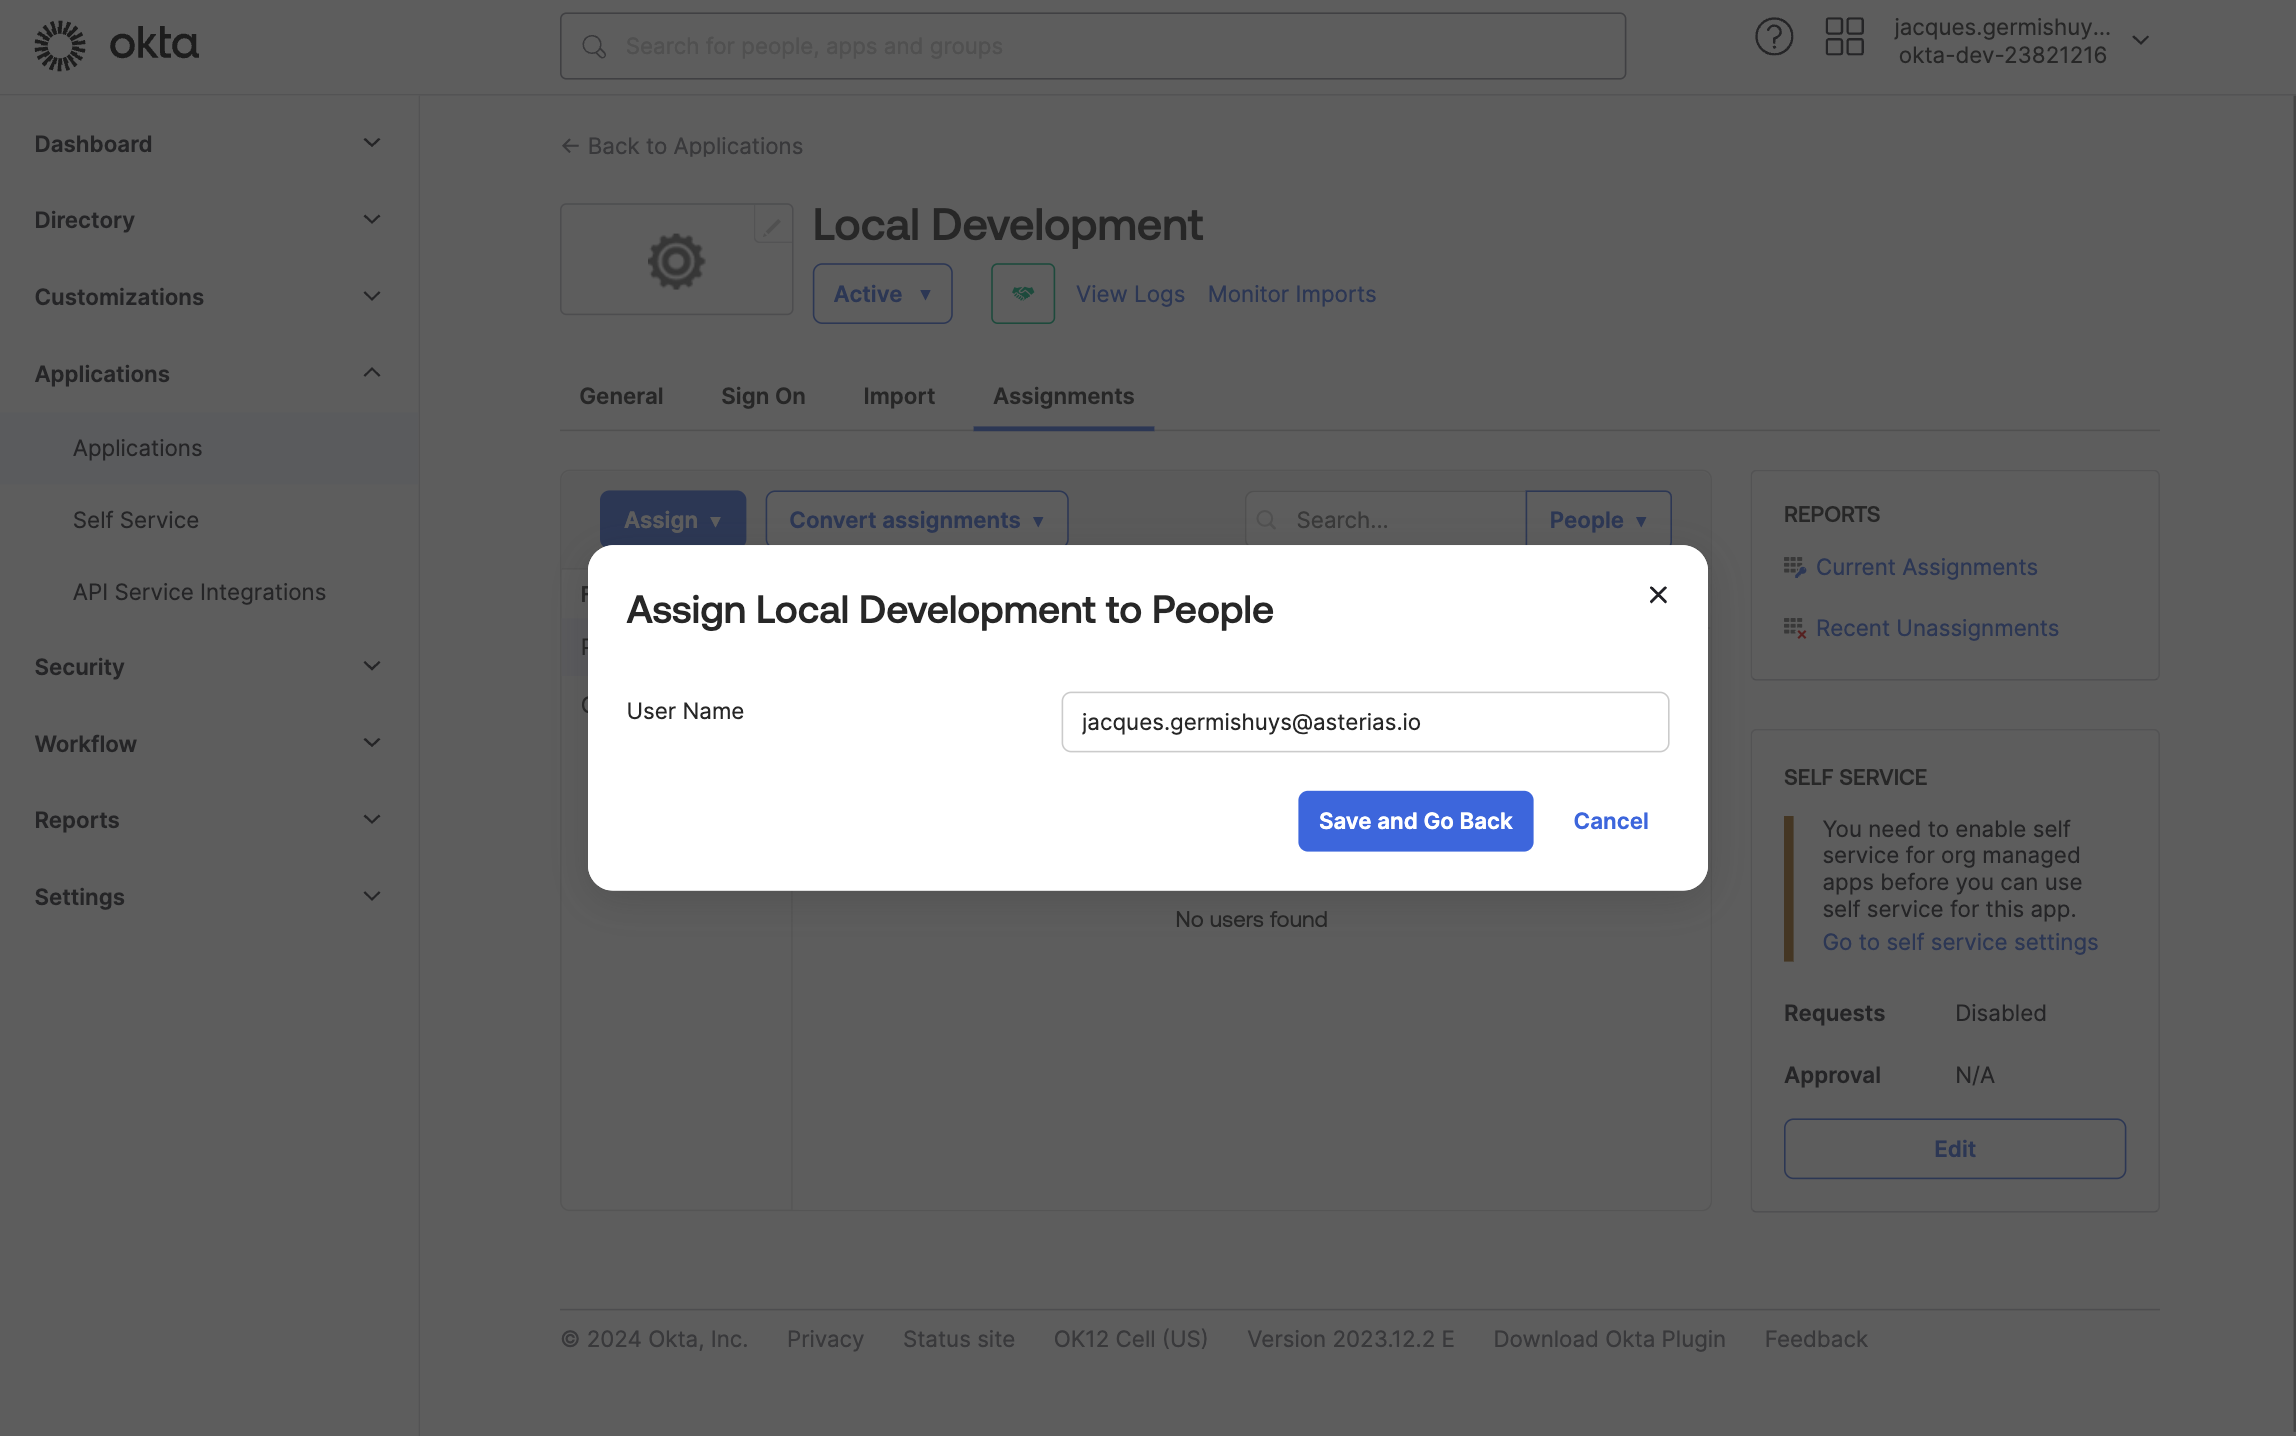
Click on Save and Go back
-
Click on Done