IdP Setup
-
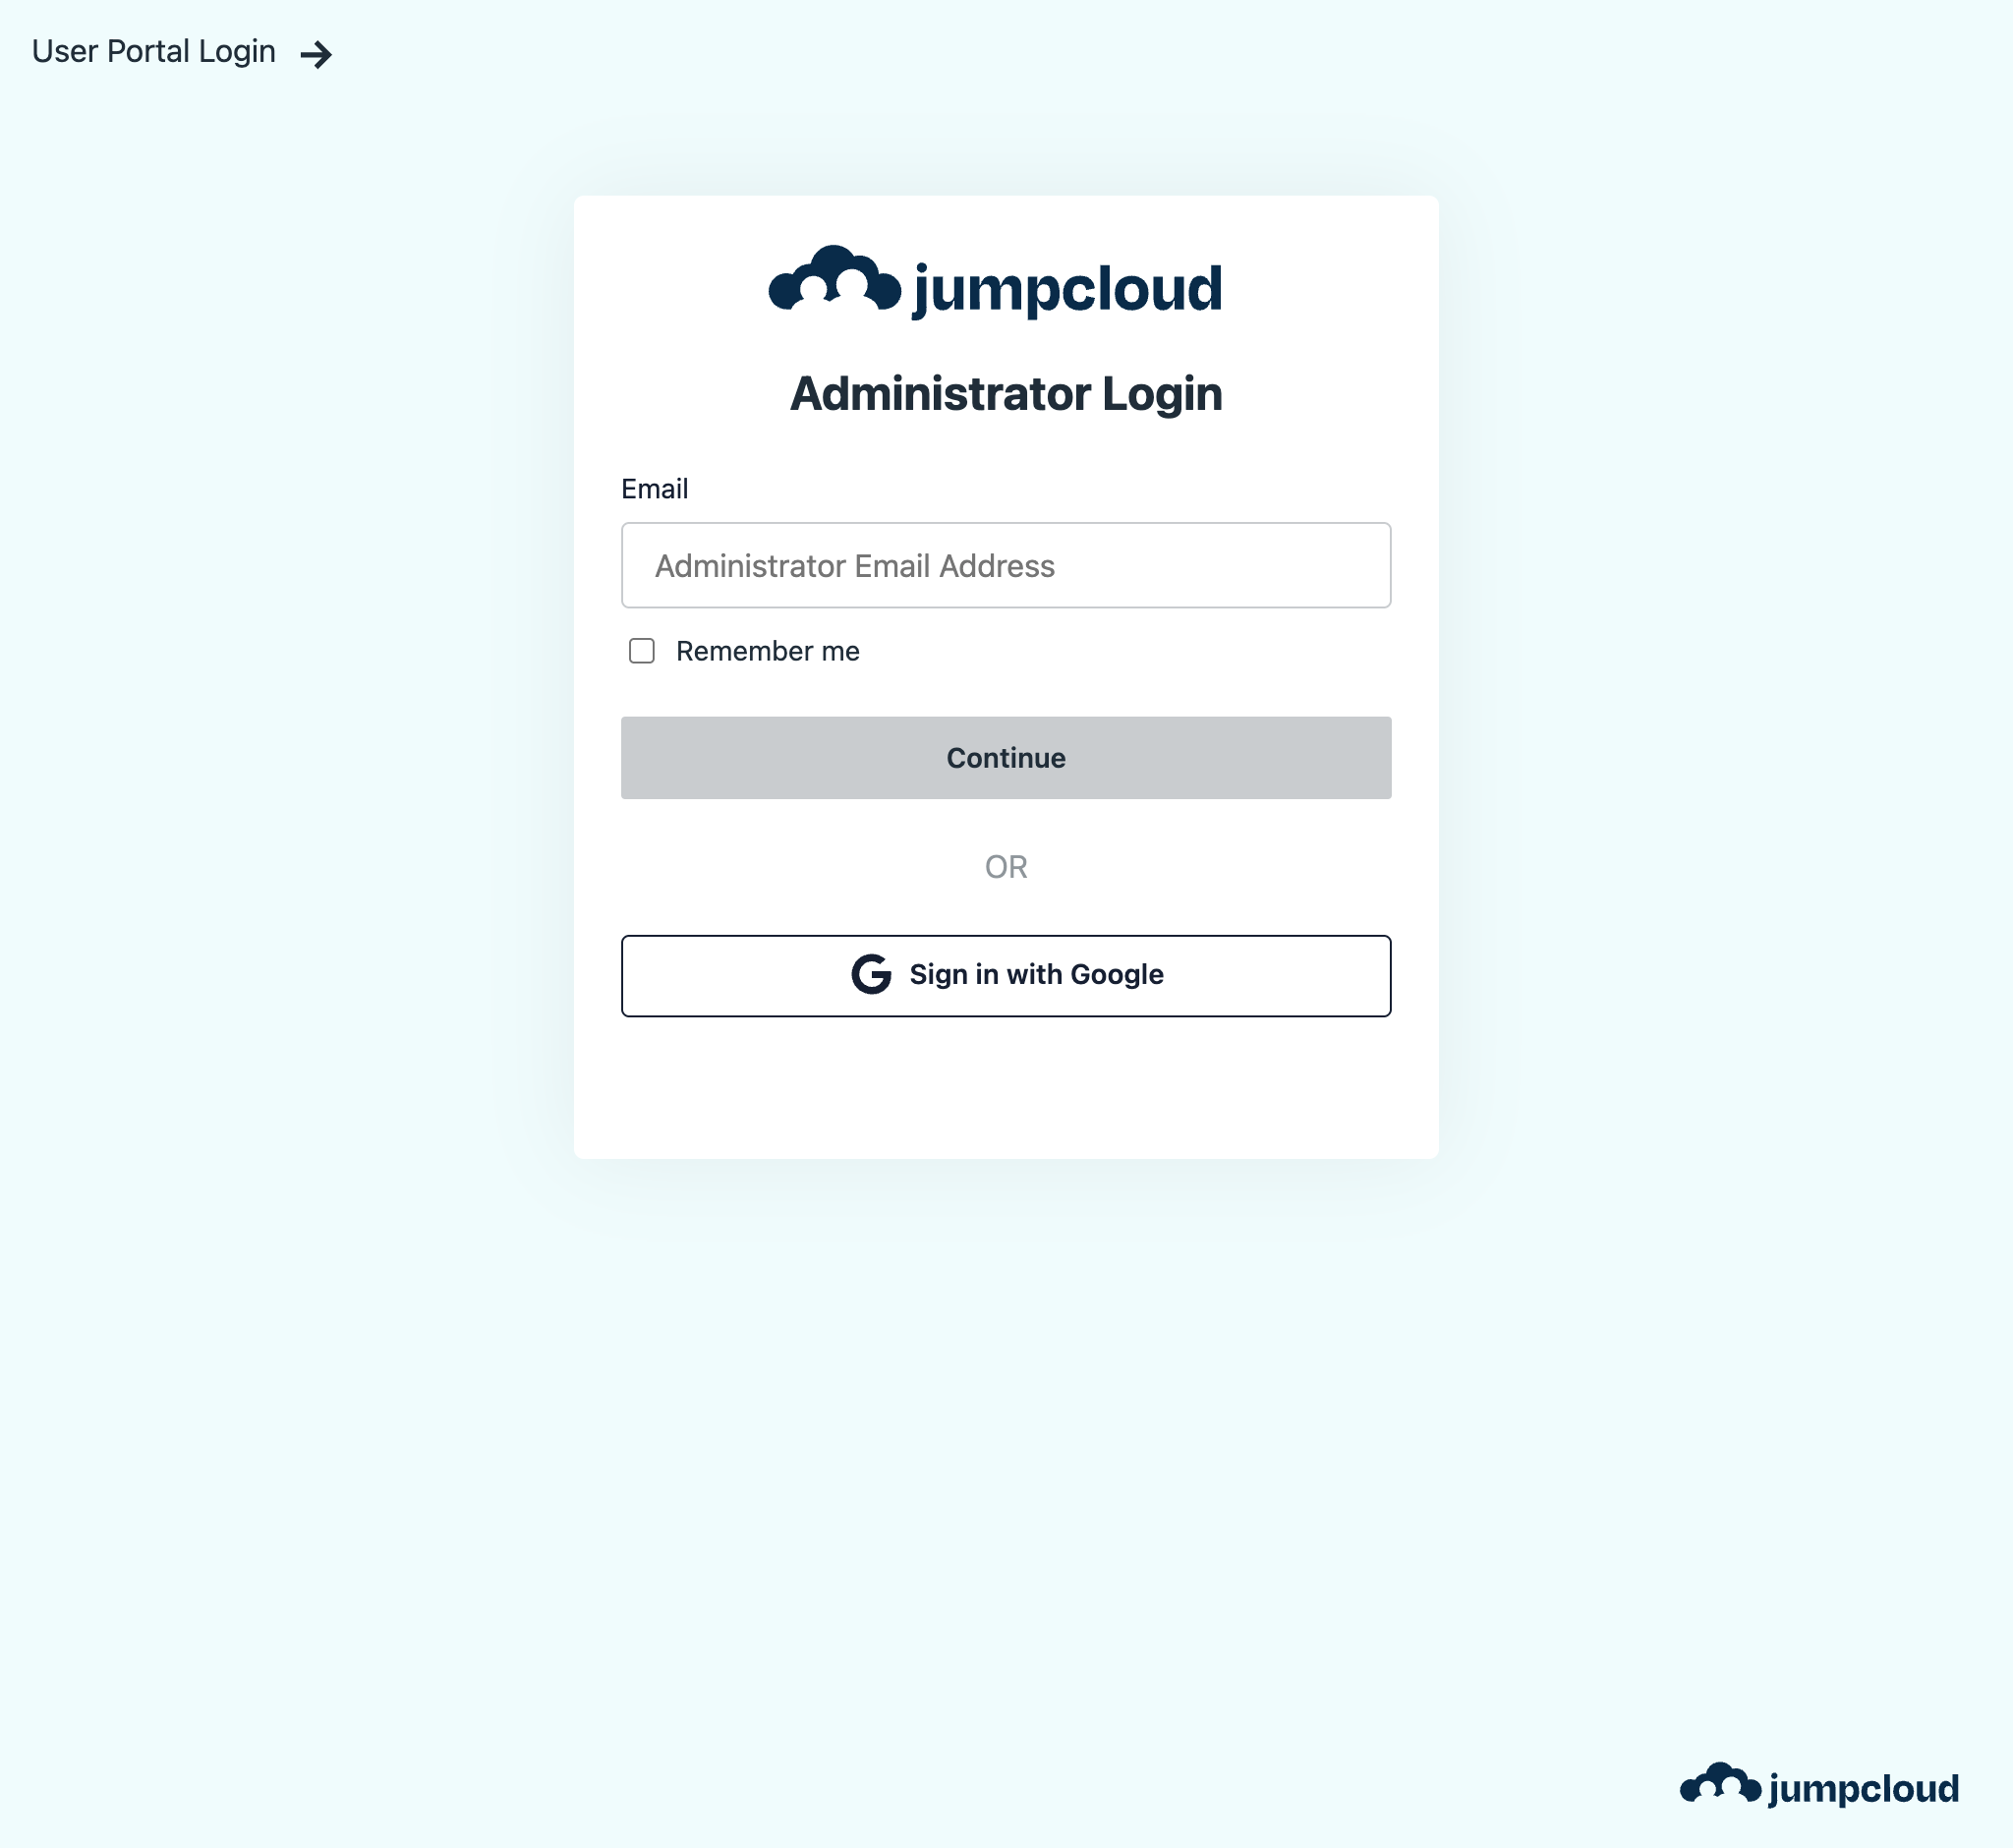
Navigate to the JumpCloud Admin Login Page and log in as an administrator.
-
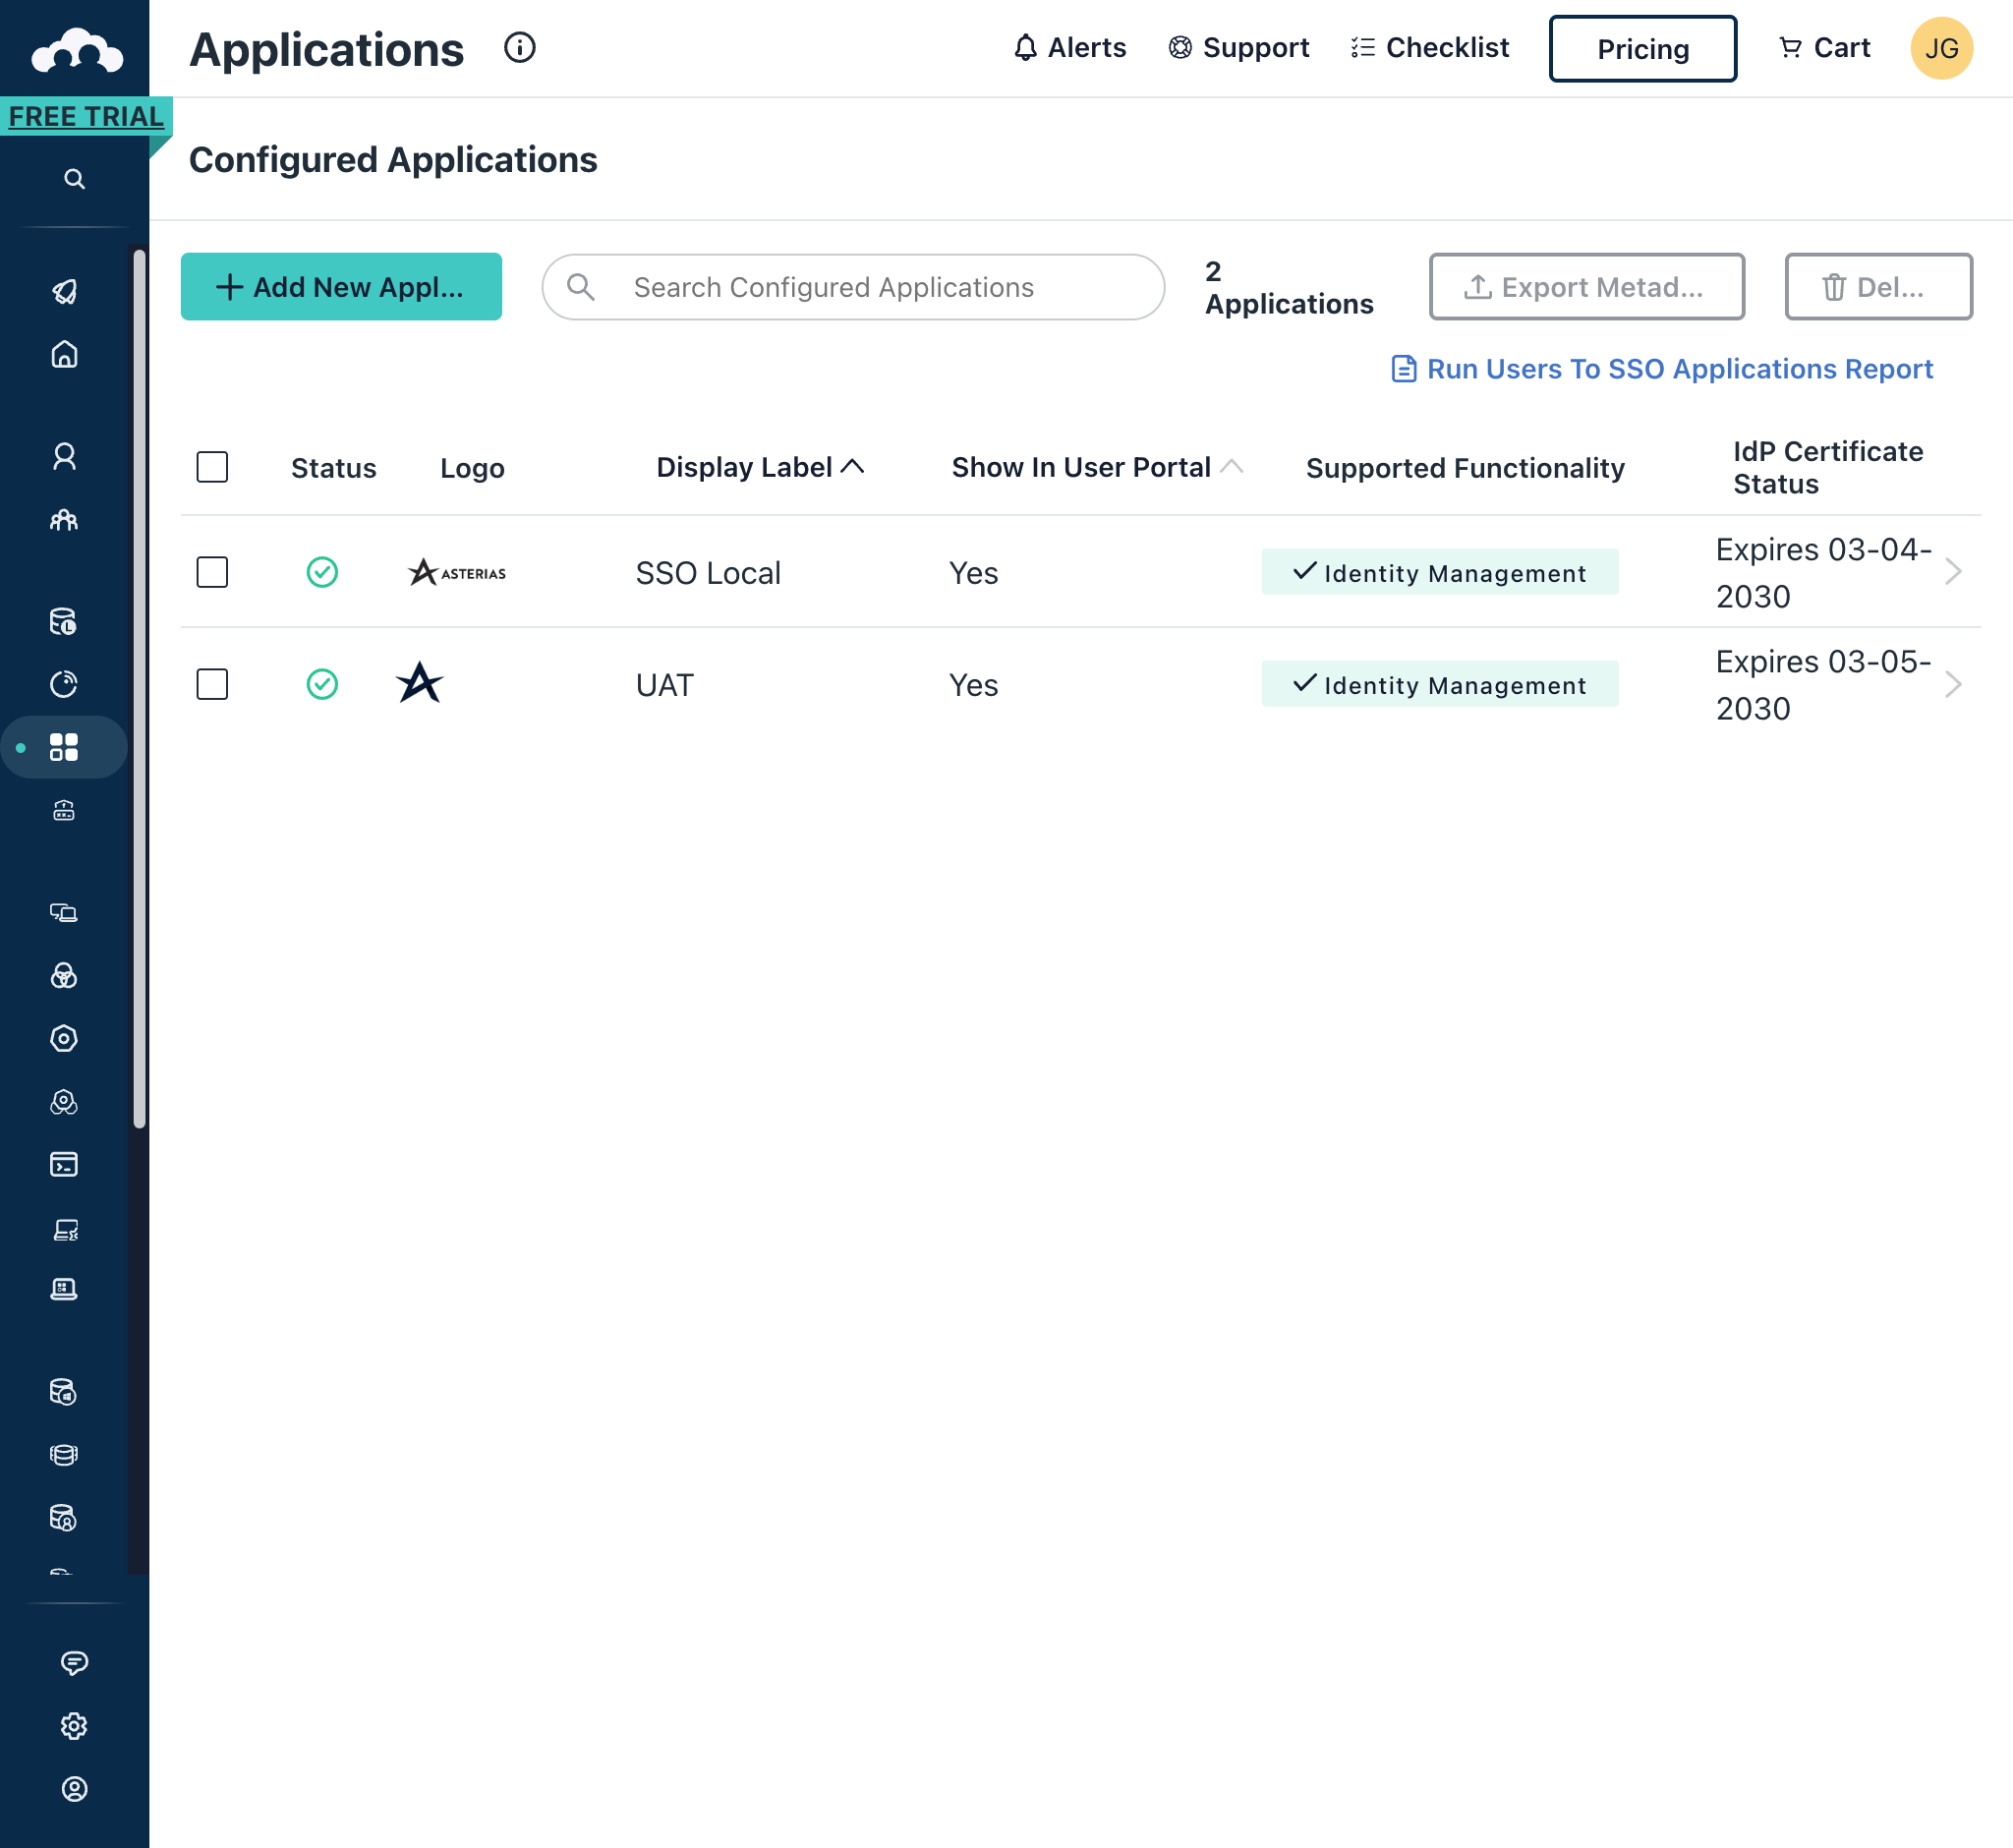
In the left-hand navigation pane, click on SSO Applications. Once the page loads, click on the Addd New Application button in the top-left of the screen.
-
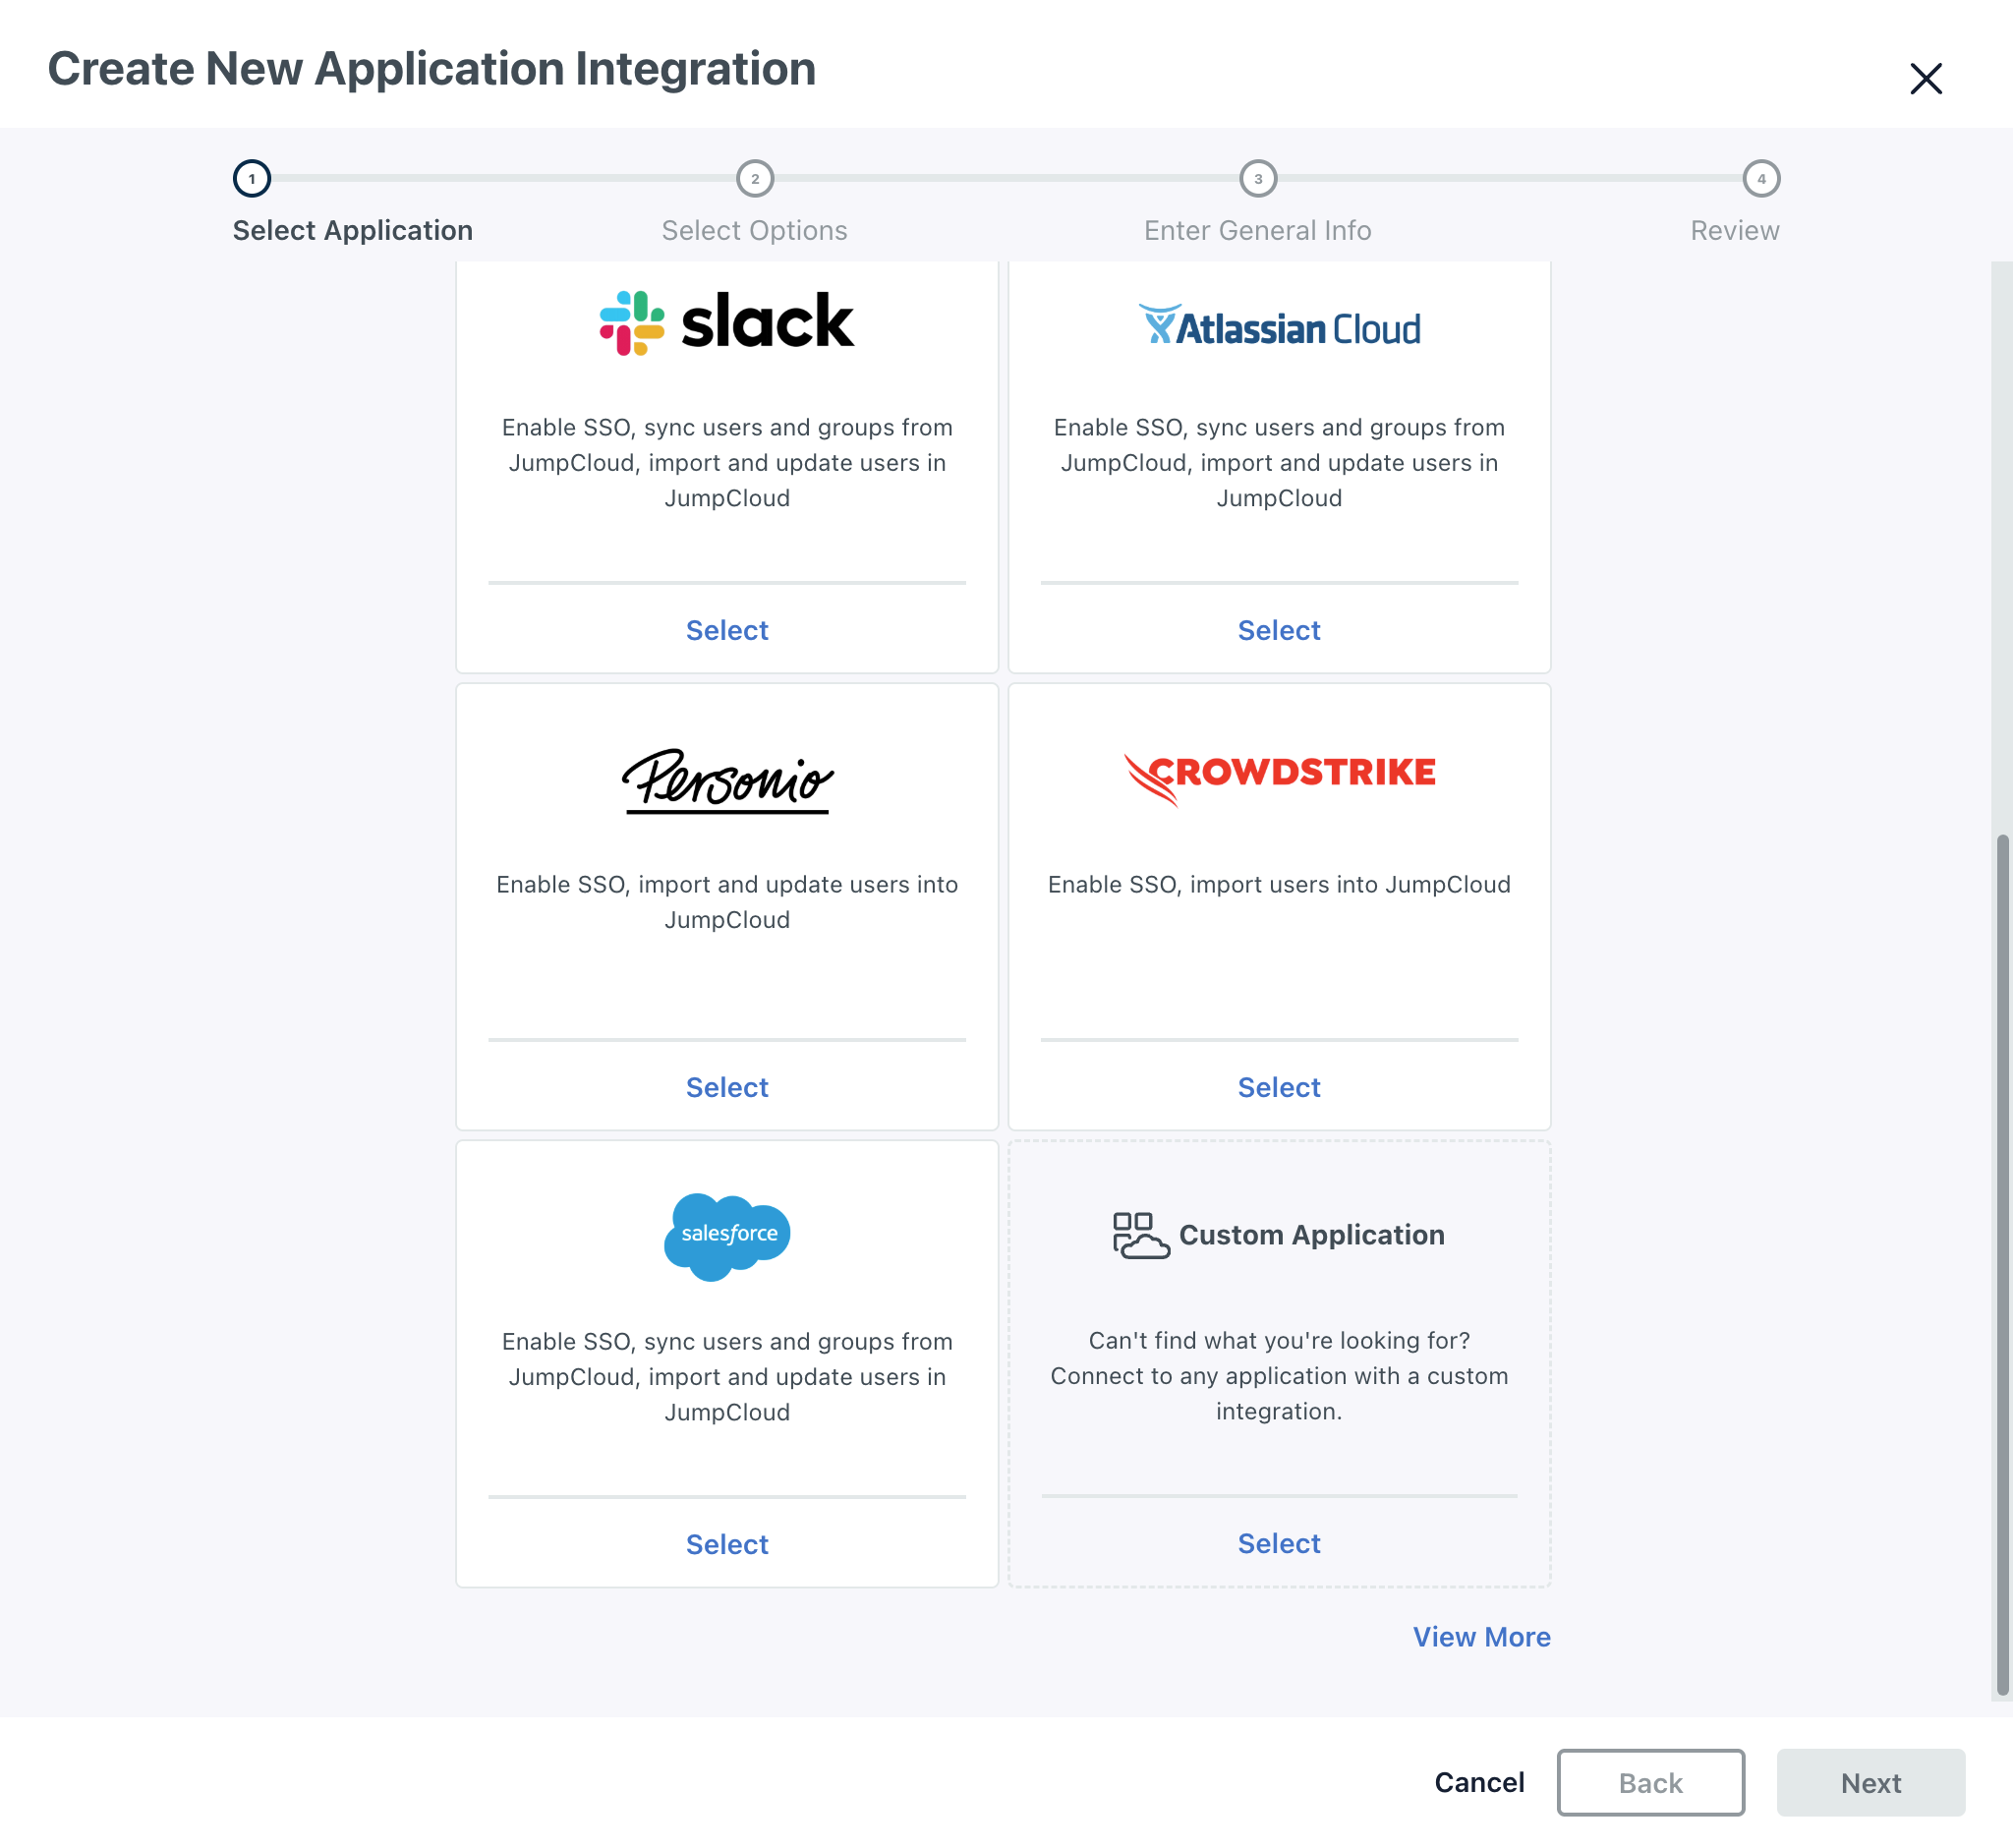
Scroll down the list of application, and click on the Select button in the Custom Application block in the bottom-right of the screen.
-
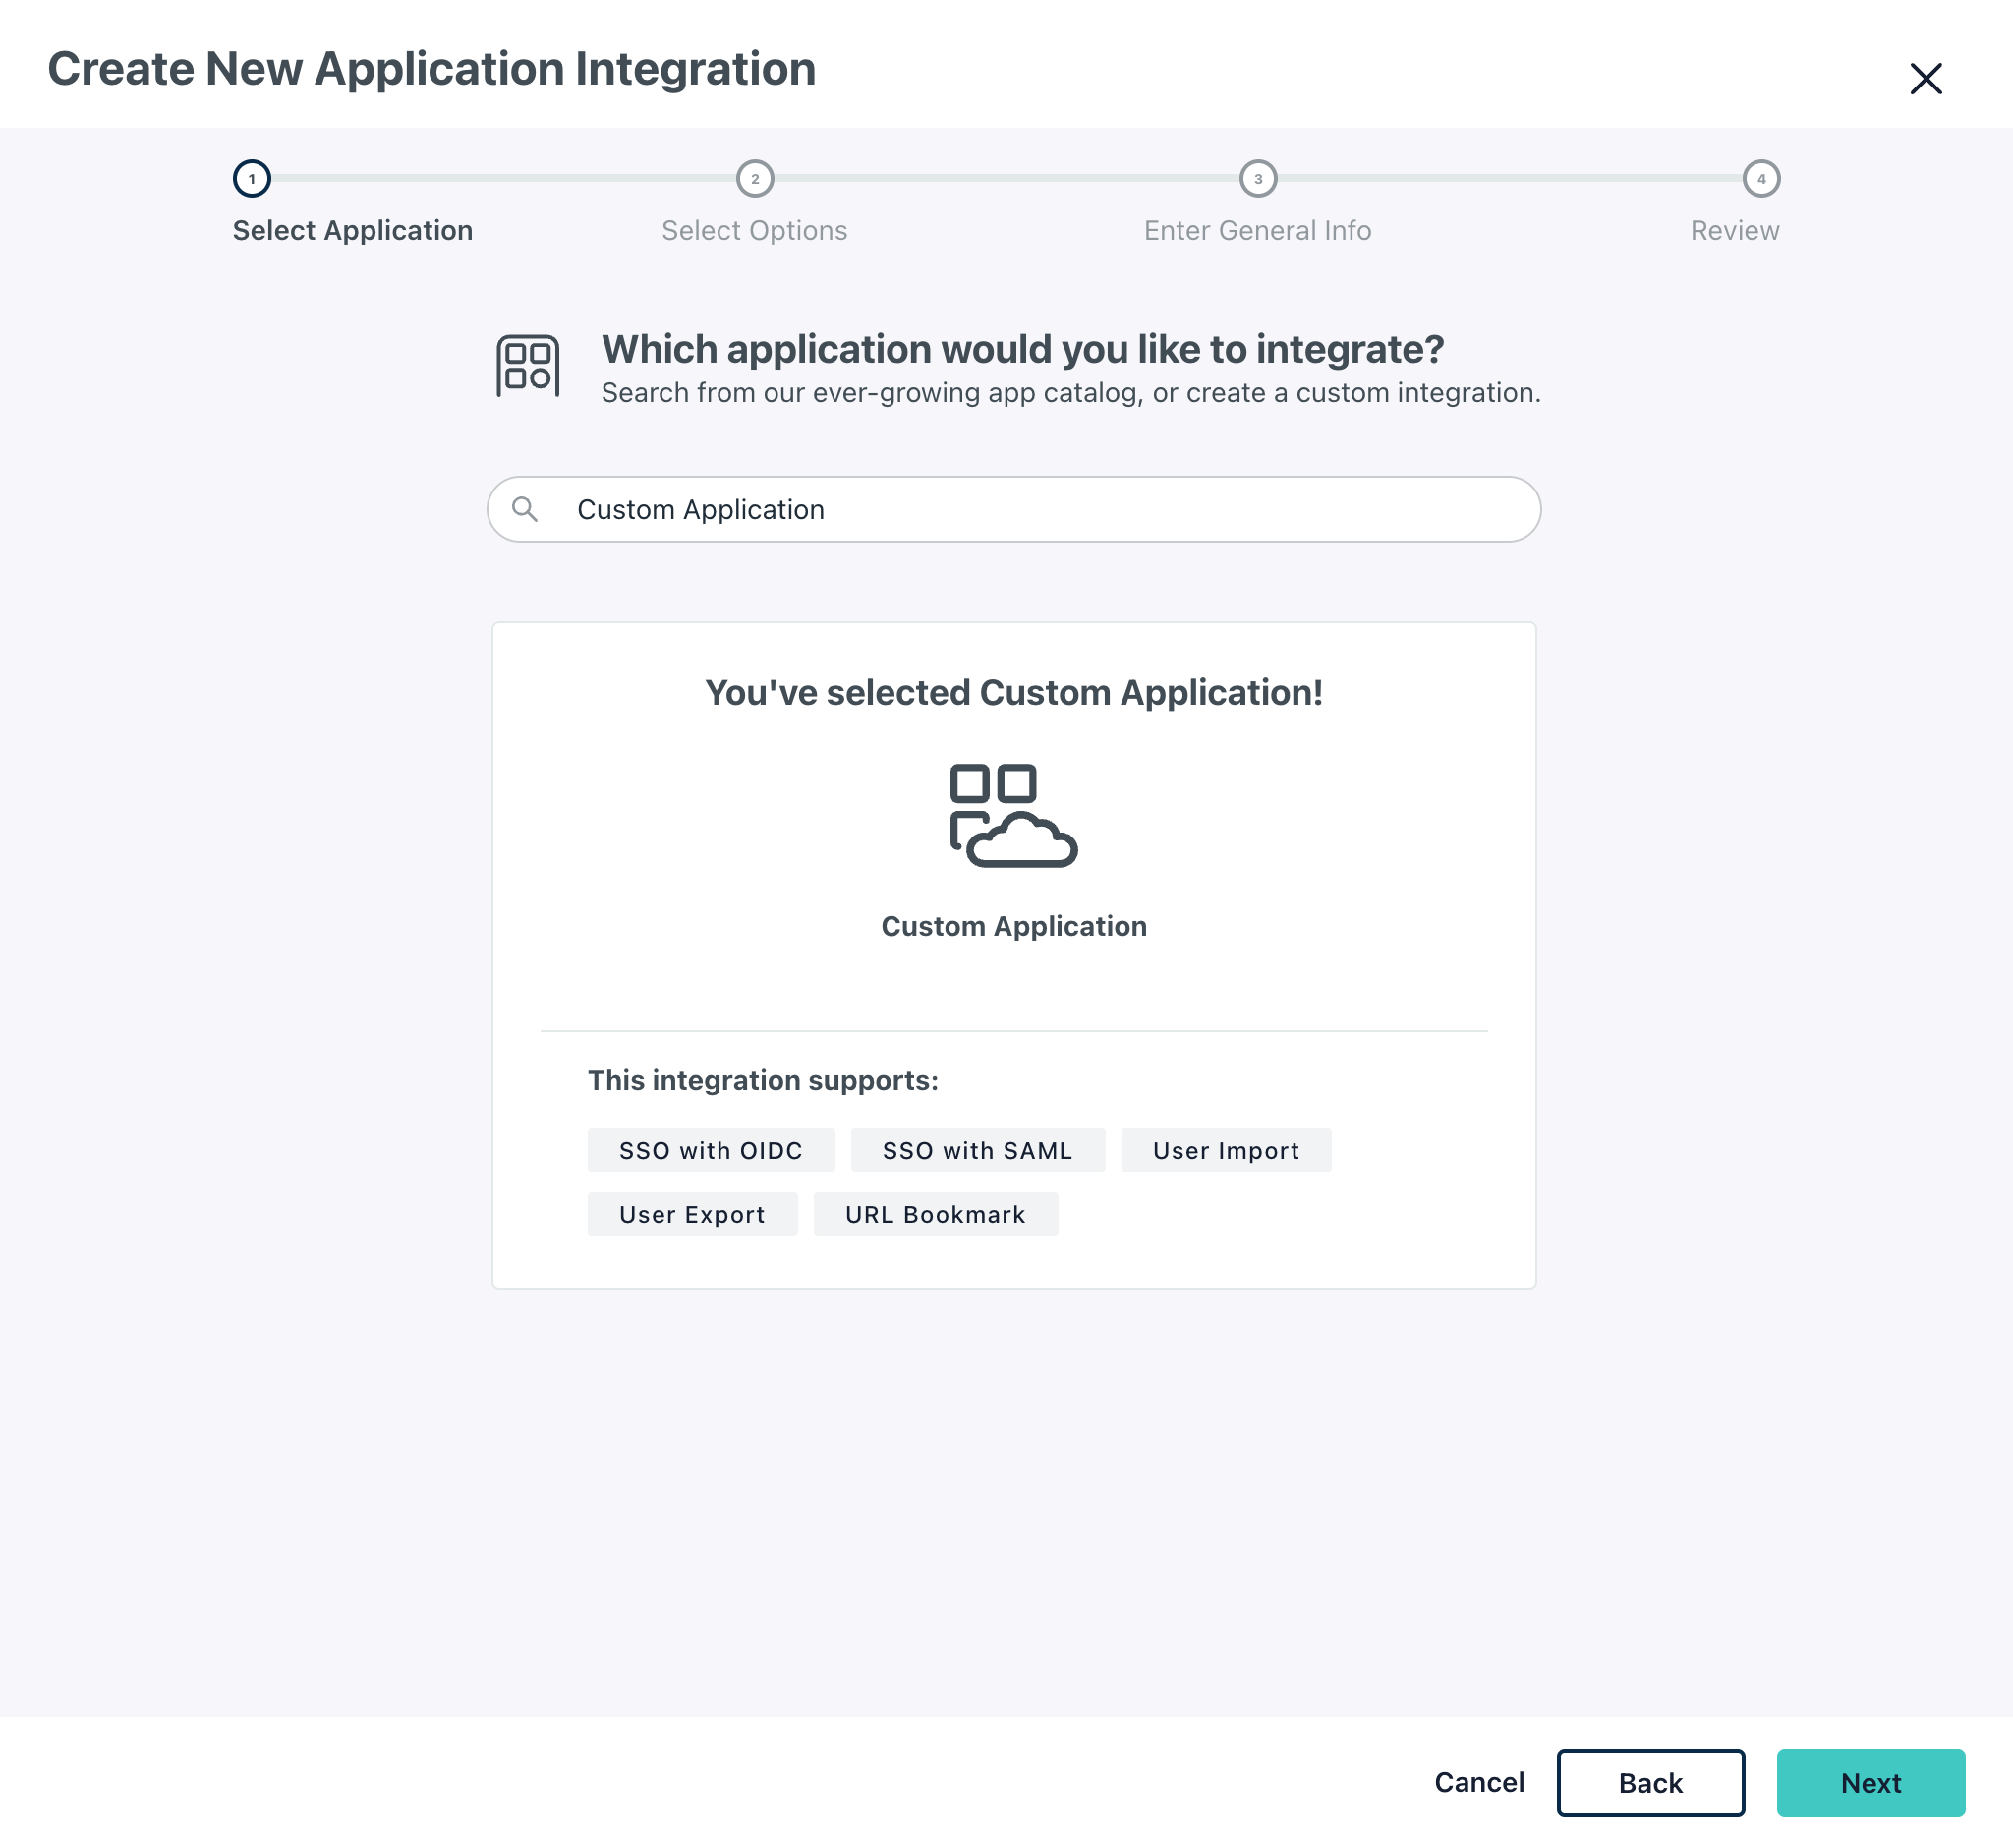
Click on the Next button in the bottom-right of the screen.
-
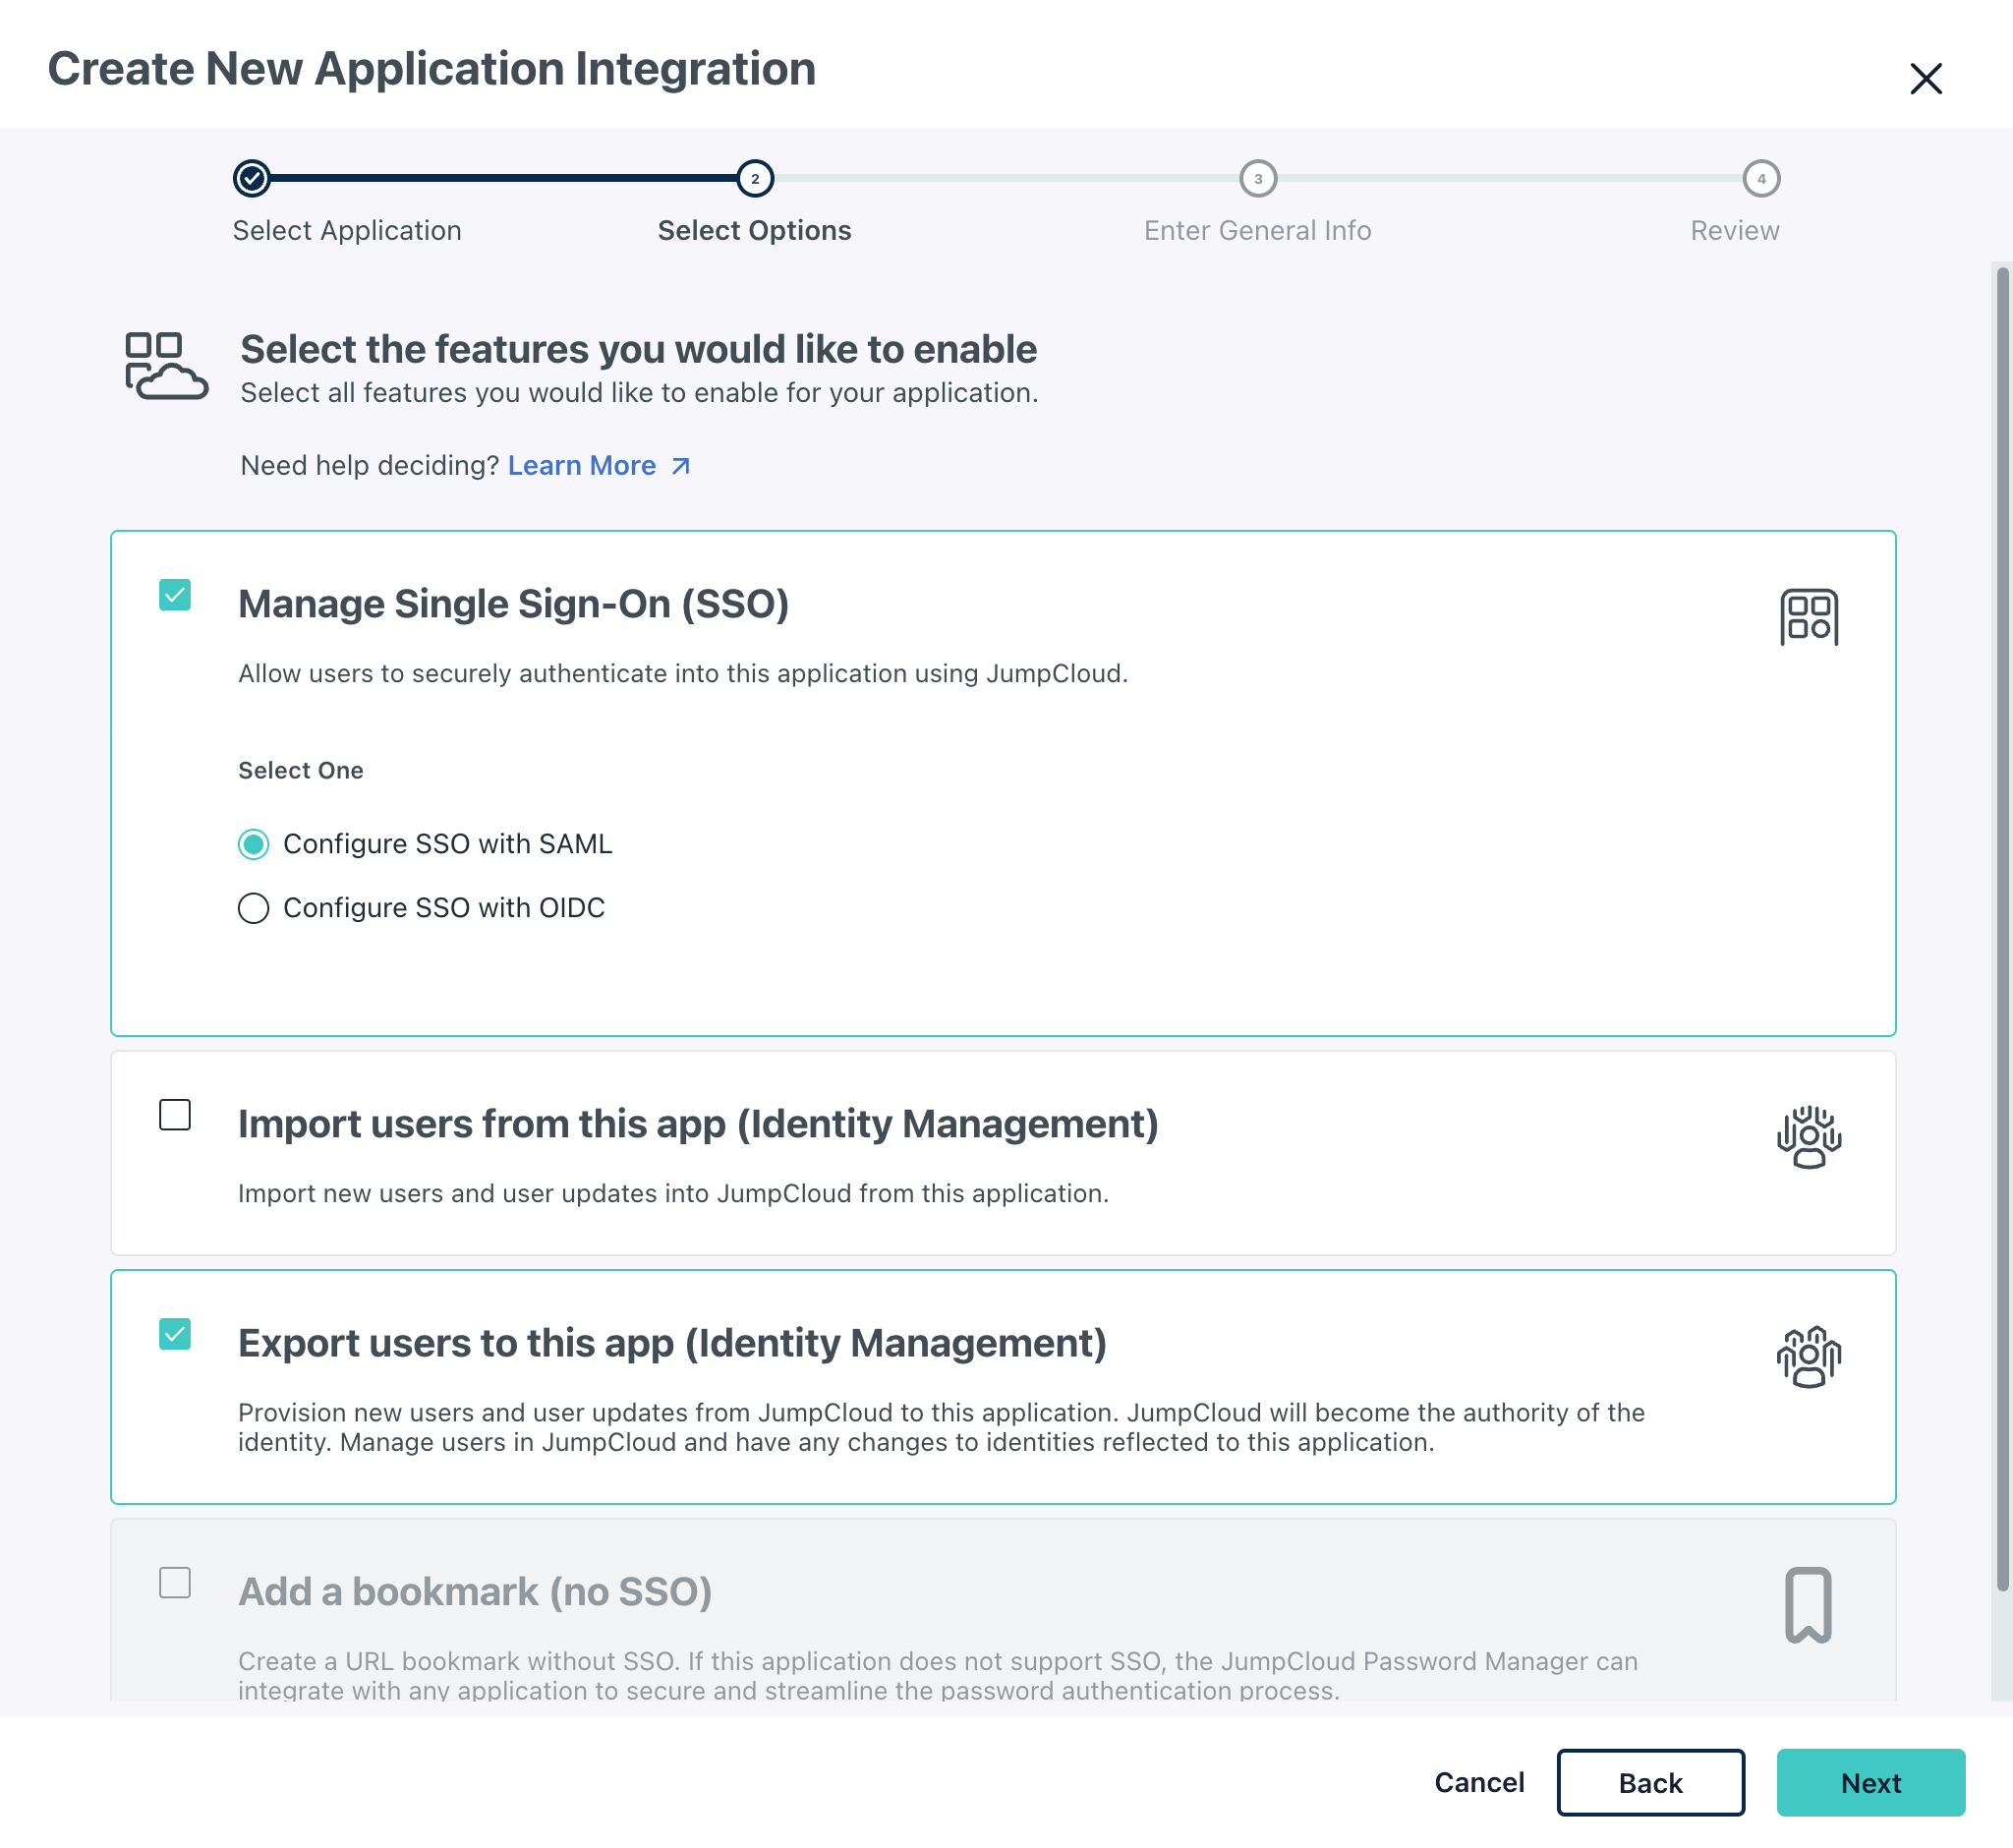
Tick the Manage Single Sign-On (SSO) and Export users to this app (Identity Management) options, and ensure that Configure SSO with SAML is selected in the Manage Single Sign-On (SSO) section. Click on the Next button in the bottom-right of the screen.
-
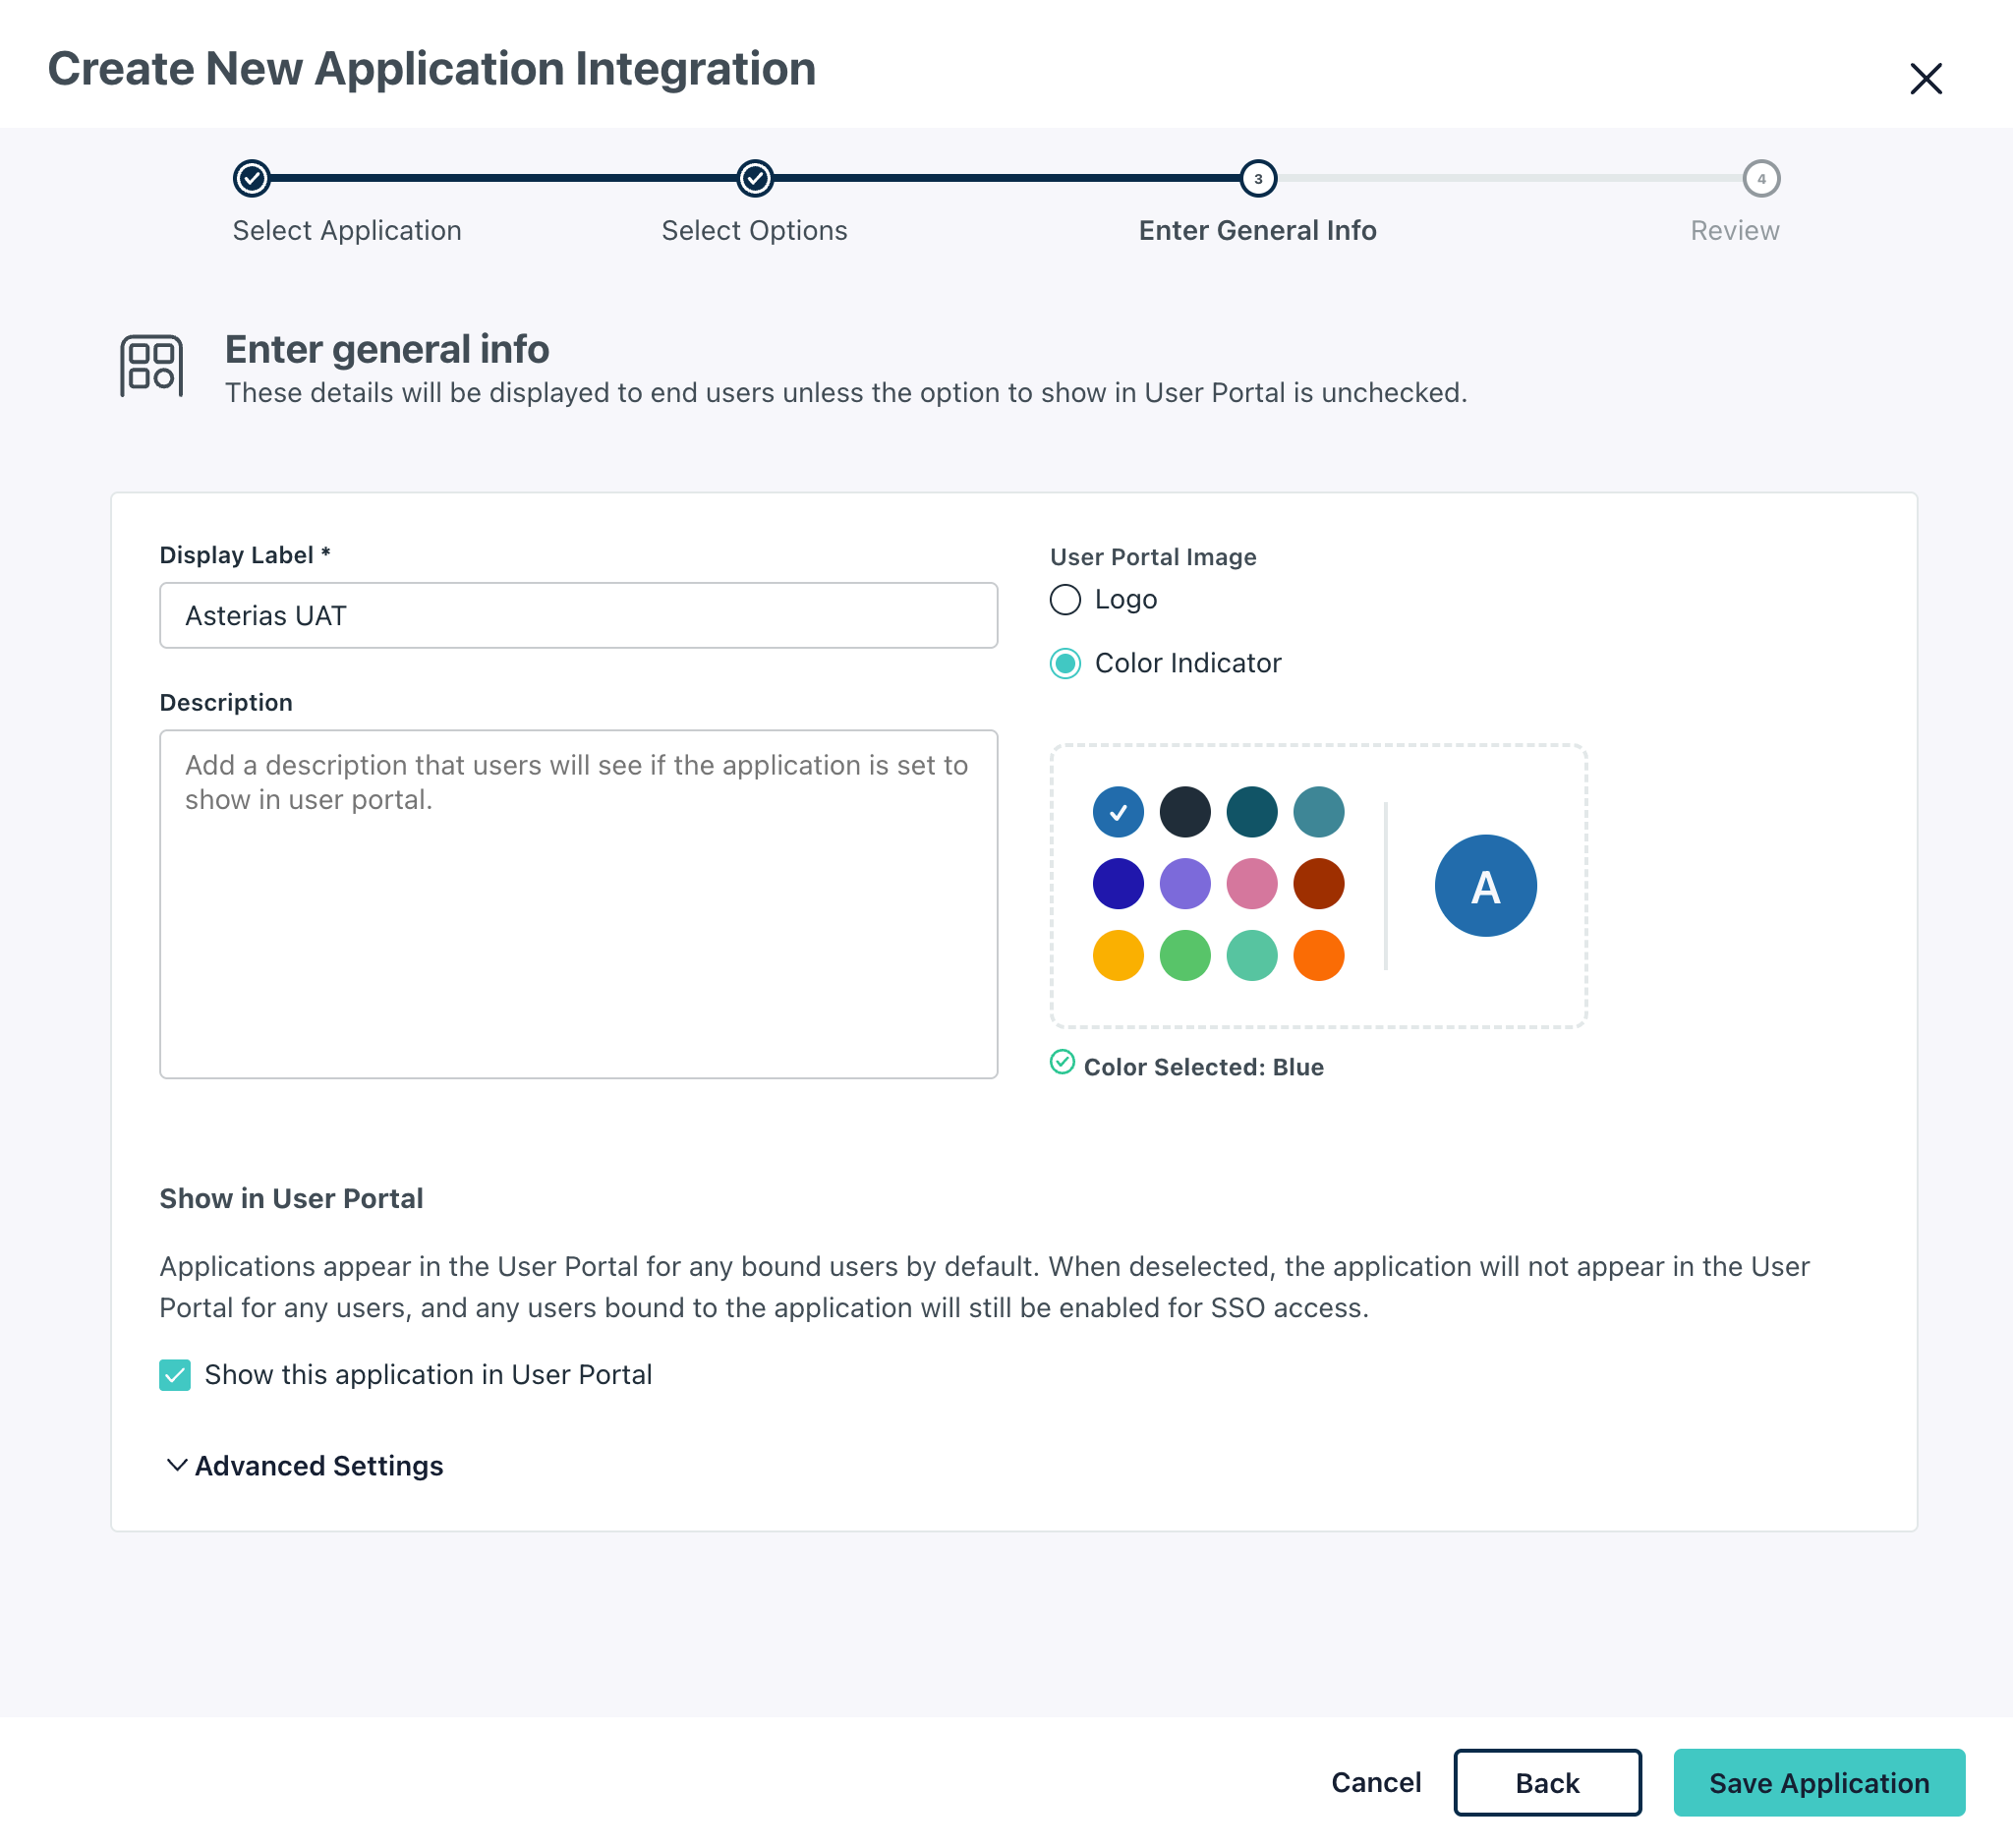
Provide an appropriate identifier for the application in the Display Label field, and click on the Save Application button in the bottom-right of the screen.
-
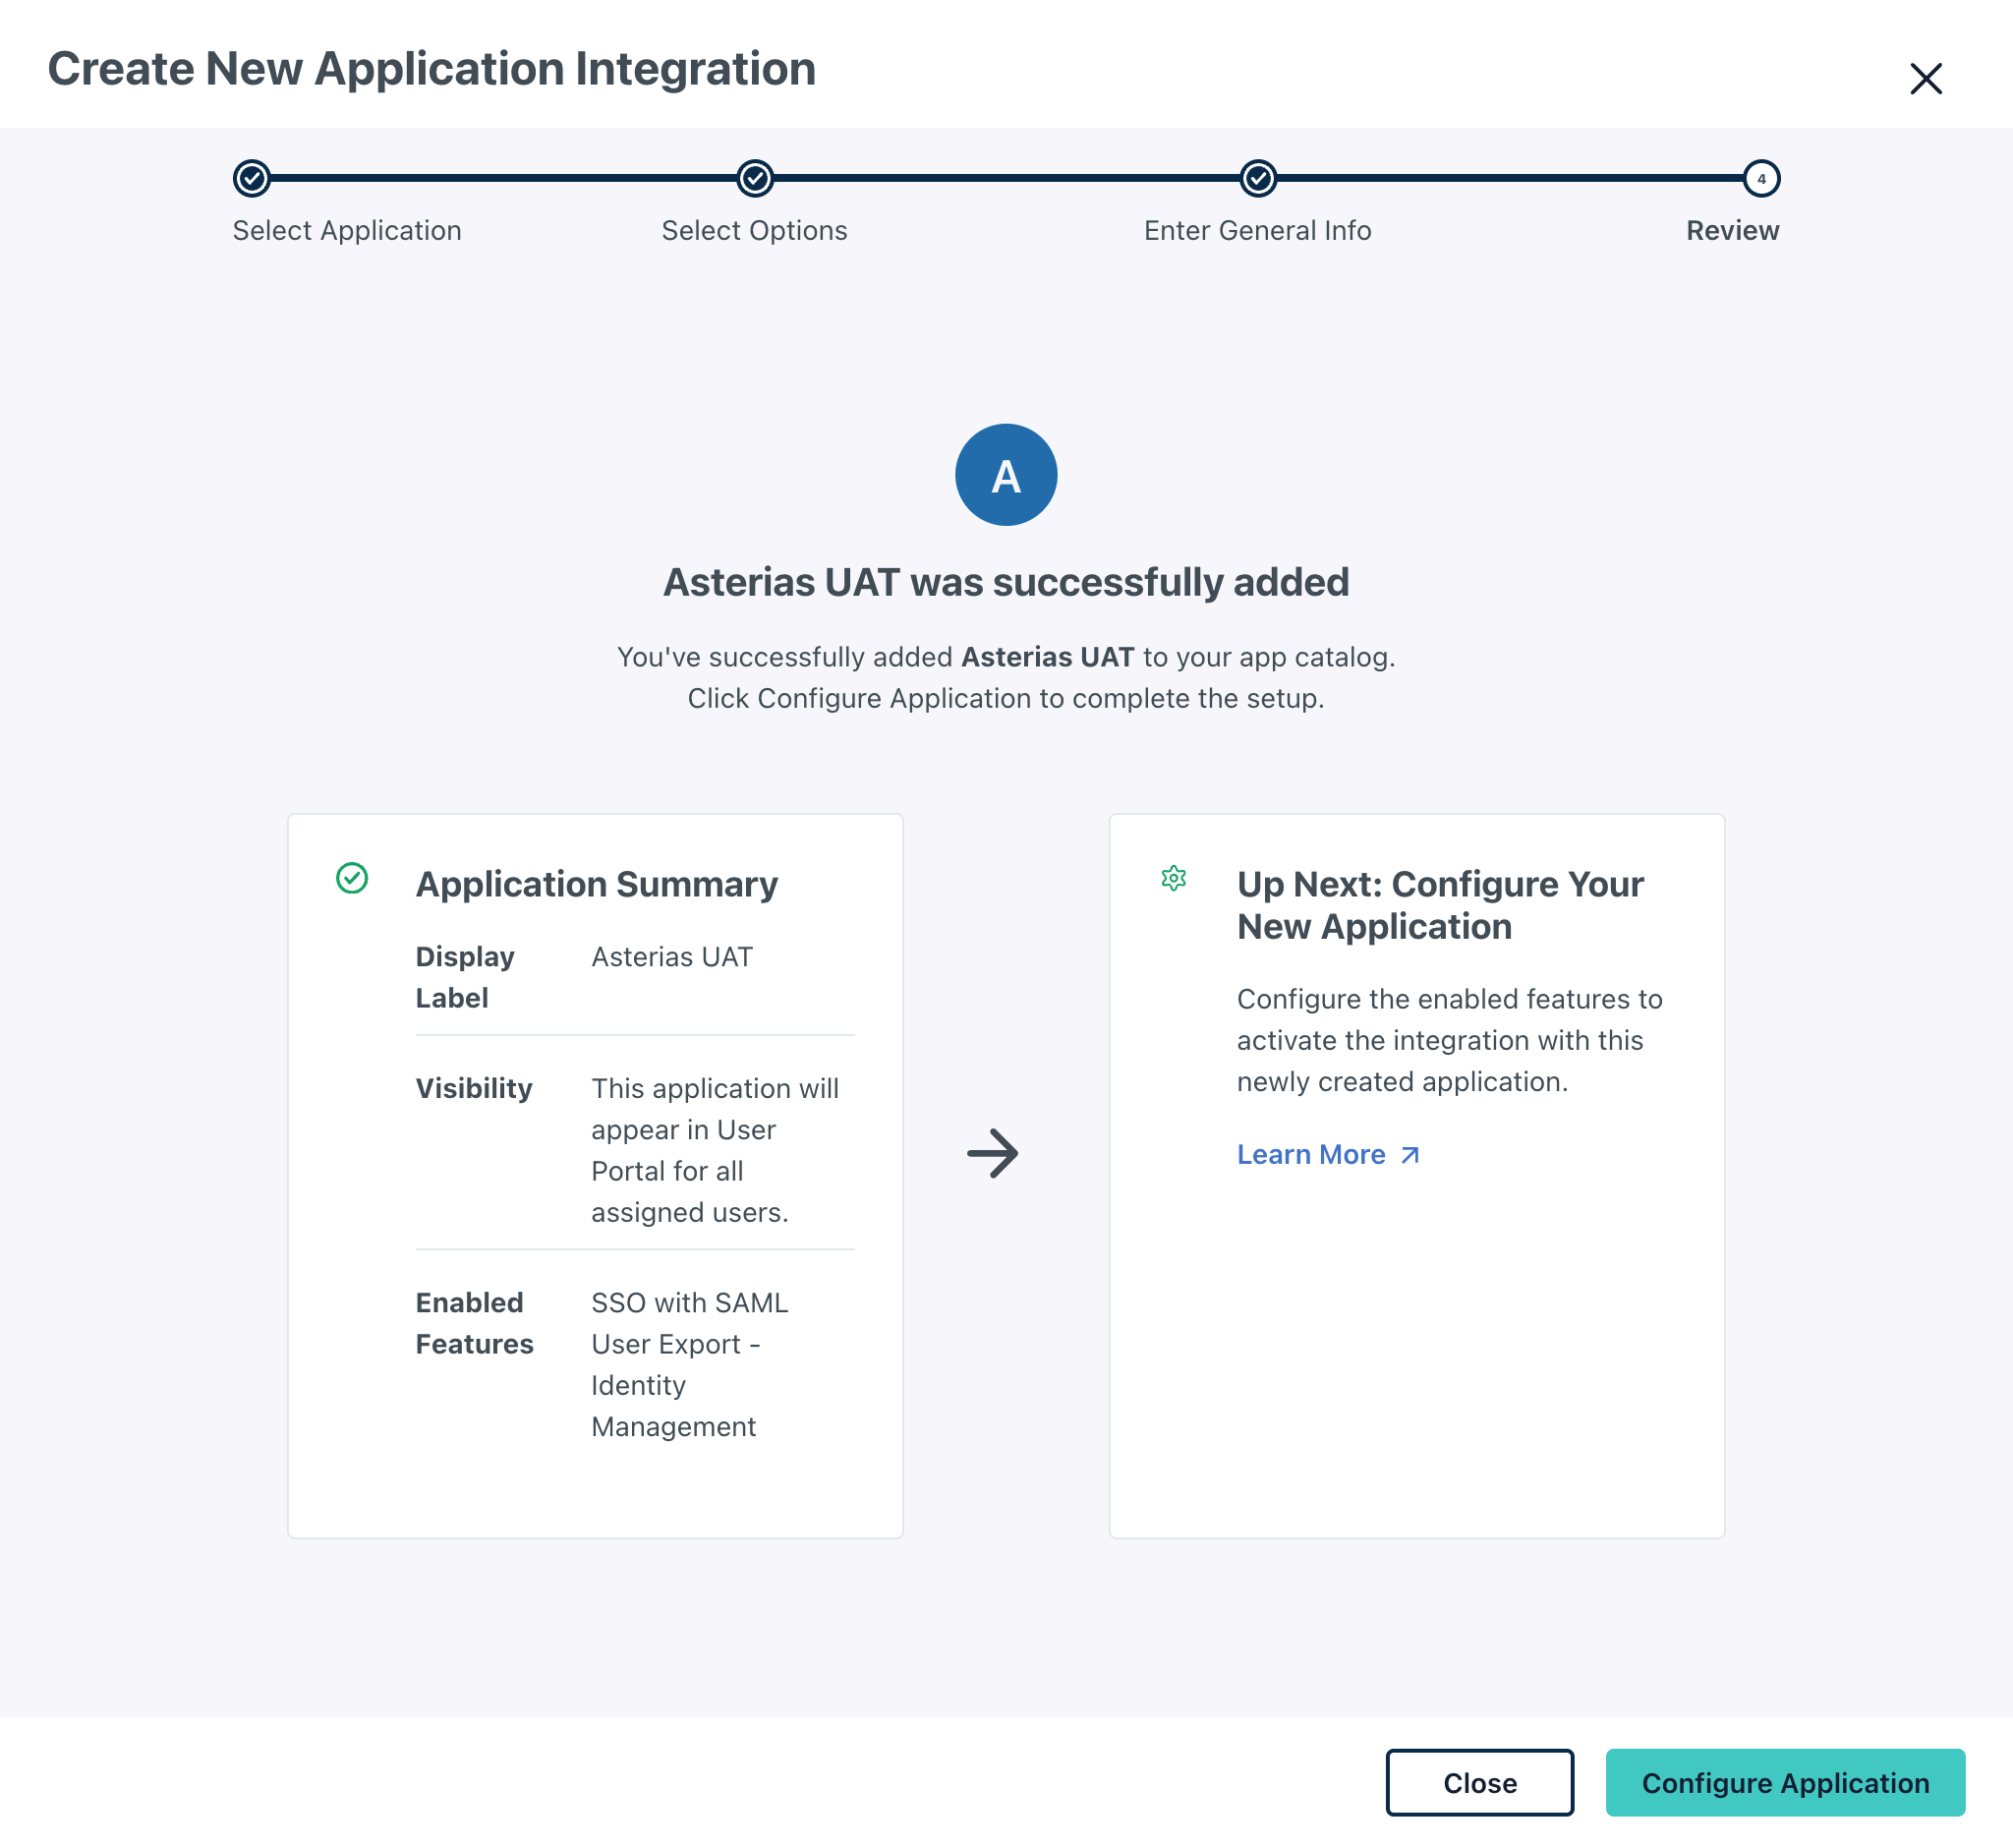
Click on the Configure Application button in the bottom-right of the screen.
-
Enter the required details in the SSO tab
- IdP Entity ID and SP Entity ID fields. It is considered best practice to use the base URL of the application as the value for SP Entity ID e.g. https://uat.asterias.io.
- ACS URLs value e.g. https://uat.asterias.io/auth/thirdparty/jumpcloudsaml/saml/callback. Take note of the path segment within this url between thirdparty and saml. In this example, it is jumpcloud. This value serves as the provider identifier.
- SAMLSubject NameID value. Use email as the value for this field.
- Signature Algorithm value. Use RSA-SHA256 as the value for this field.
- Sing value. Use Response as the value for this field.
-
Click on the Copy Metadata URL button. This value will be used when configuring the application.
-
Upload the certificate generated in the previous section by clicking on the Replace SP Certificate button. Click on the Save button in the bottom-right
-
Click on the Save button in the bottom-right of the screen.